Stati Uniti · 1935–2009
Michael Mazur
Michael Mazur: dove vedere le opere. Opere nel nostro catalogo: 203; collezioni: 7. Nessuna risulta esposta oggi.
Il pittore e grafico americano Michael Mazur (1935–2009) nacque a New York. Studiò all'Amherst College e alla Yale School of Art. Il Whitney Museum e la Yale University Art Gallery hanno i gruppi maggiori delle sue 203 opere nei musei. Le stampe comprendono Closed Ward No. 10 e Closed Ward No. 11, quest'ultima con il sottotitolo She Carries a Magazine.
- 203in catalogo
- 0esposte ora
- 7collezioni
- 1paese
Domande
- Quale museo ha più opere di Michael Mazur?
- Museum of Modern Art ne ha di più nel nostro catalogo: 57 opere.
- Quante opere di Michael Mazur sono nelle collezioni dei musei?
- Opere nel nostro catalogo: 203. Collezioni museali: 7. Paesi: 1.
- Quando visse Michael Mazur?
- Anno di nascita: 1935. Anno di morte: 2009. Nazionalità: Stati Uniti.

Closed Ward No. 10
1900–2000 · Yale University Art Gallery

Closed Ward No. 11 "She Carries a Magazine"
1900–2000 · Yale University Art Gallery

Gesture of the Calla, from The Peterdi Years: Alumni Portfolio
mid–late 20th century · Yale University Art Gallery

Grandmother's Hat
1956 · Non esposta · National Gallery of Art

Shoe Landscape
1959 · Yale University Art Gallery

Sleeper
1959 · Yale University Art Gallery

Metamorphosis of the Victorian
1959 · Yale University Art Gallery

Small Sleeper
1959 · Yale University Art Gallery

Parts of the Skull
1960 · Yale University Art Gallery

Reciprocal Pressures
1960 · Yale University Art Gallery

Untitled
1961 · Yale University Art Gallery

The Occupant
1962 · Non esposta · National Gallery of Art

Closed Ward No. 8 "Her Place"
1962 · Yale University Art Gallery

Closed Ward No. 3
1962 · Yale University Art Gallery

Closed Ward No. 2
1962 · Yale University Art Gallery

Closed Ward No. 5
1962 · Yale University Art Gallery

Closed Ward No. 1
1962 · Yale University Art Gallery

Closed Ward No. 12, from the series Closed Ward
1962 · Yale University Art Gallery

Closed Ward No. 6
1962 · Yale University Art Gallery

Closed Ward No. 9
1962 · Yale University Art Gallery

Closed Ward No. 7
1962 · Yale University Art Gallery
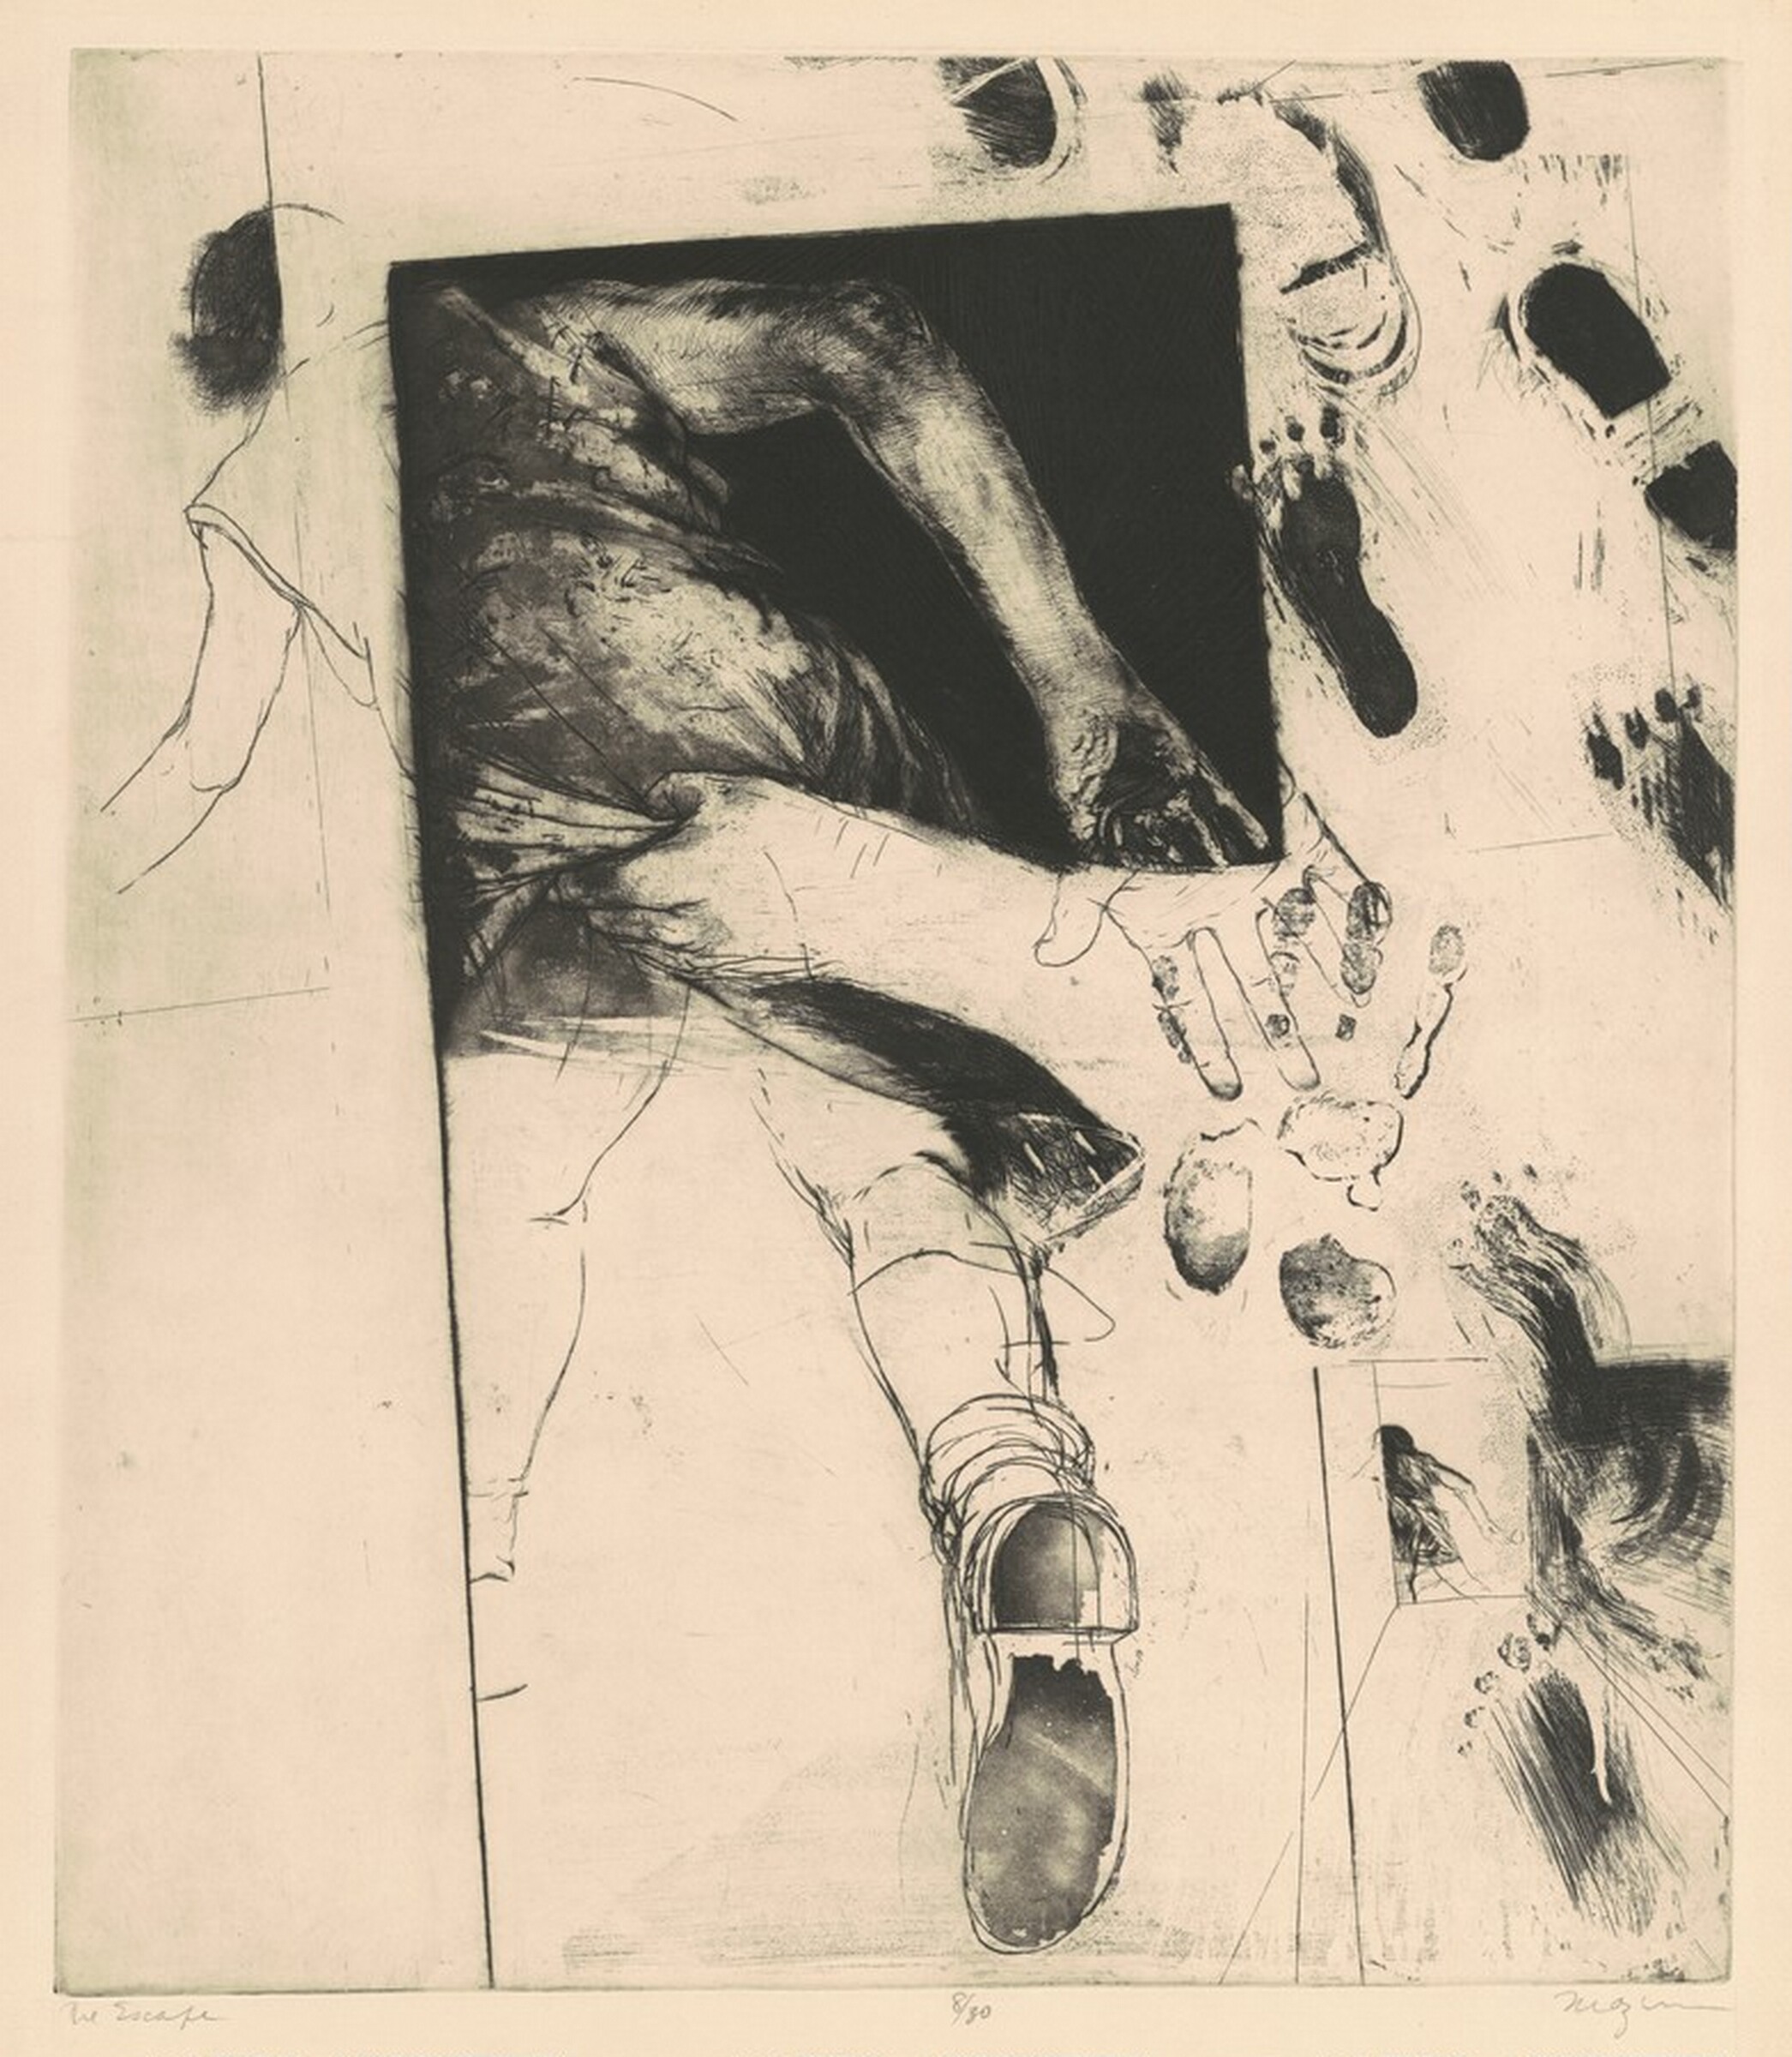
The Escape
1964 · Non esposta · National Gallery of Art

Untitled
ca. 1964 · Yale University Art Gallery

Untitled
1964 · Yale University Art Gallery

The Bench (No 6 in Images from a Locked Ward) (portfolio in cabinet)
1965 · Yale University Art Gallery

Images from a Locked Ward
1965 · Yale University Art Gallery

All the Work I do is in my Neck (No 13 in Images from a Locked Ward) (portfolio in cabinet)
1965 · Yale University Art Gallery

This Trip has Walls (No 5 in Images from a Locked Ward) (portfolio in cabinet)
1965 · Yale University Art Gallery

Modules of Madness II (No 11 in Images from a Locked Ward) (portfolio in cabinet)
1965 · Yale University Art Gallery

Bound Hands Swing (No 10 in Images from a Locked Ward) (portfolio in cabinet)
1965 · Yale University Art Gallery

The Corridor (No 2 in Images from a Locked Ward) (portfolio in cabinet)
1965 · Yale University Art Gallery

Companions (No 14 in Images from a Locked Ward) (portfolio in cabinet)
1965 · Yale University Art Gallery

The Occupant (No 3 in Images from a Locked Ward) (portfolio in cabinet)
1965 · Yale University Art Gallery

The Swing (No 8 in Images from a Locked Ward) (portfolio in cabinet)
1965 · Yale University Art Gallery

Modules of Madness I (No 7 in Images from a Locked Ward) (portfolio in cabinet)
1965 · Yale University Art Gallery

The Room for Sleeping (No 4 in Images from a Locked Ward) (portfolio in cabinet)
1965 · Yale University Art Gallery

Portrait (No 12 in Images from a Locked Ward) (portfolio in cabinet)
1965 · Yale University Art Gallery

Guardian of a Corner (No 9 in Images from a Locked Ward) (portfolio in cabinet)
1965 · Yale University Art Gallery

Untitled
1968 · Non esposta · National Gallery of Art

Untitled (1)
1968 · Non esposta · National Gallery of Art

The Mirror
1968 · Non esposta · National Gallery of Art

White Divisions #2
1968 · Non esposta · National Gallery of Art
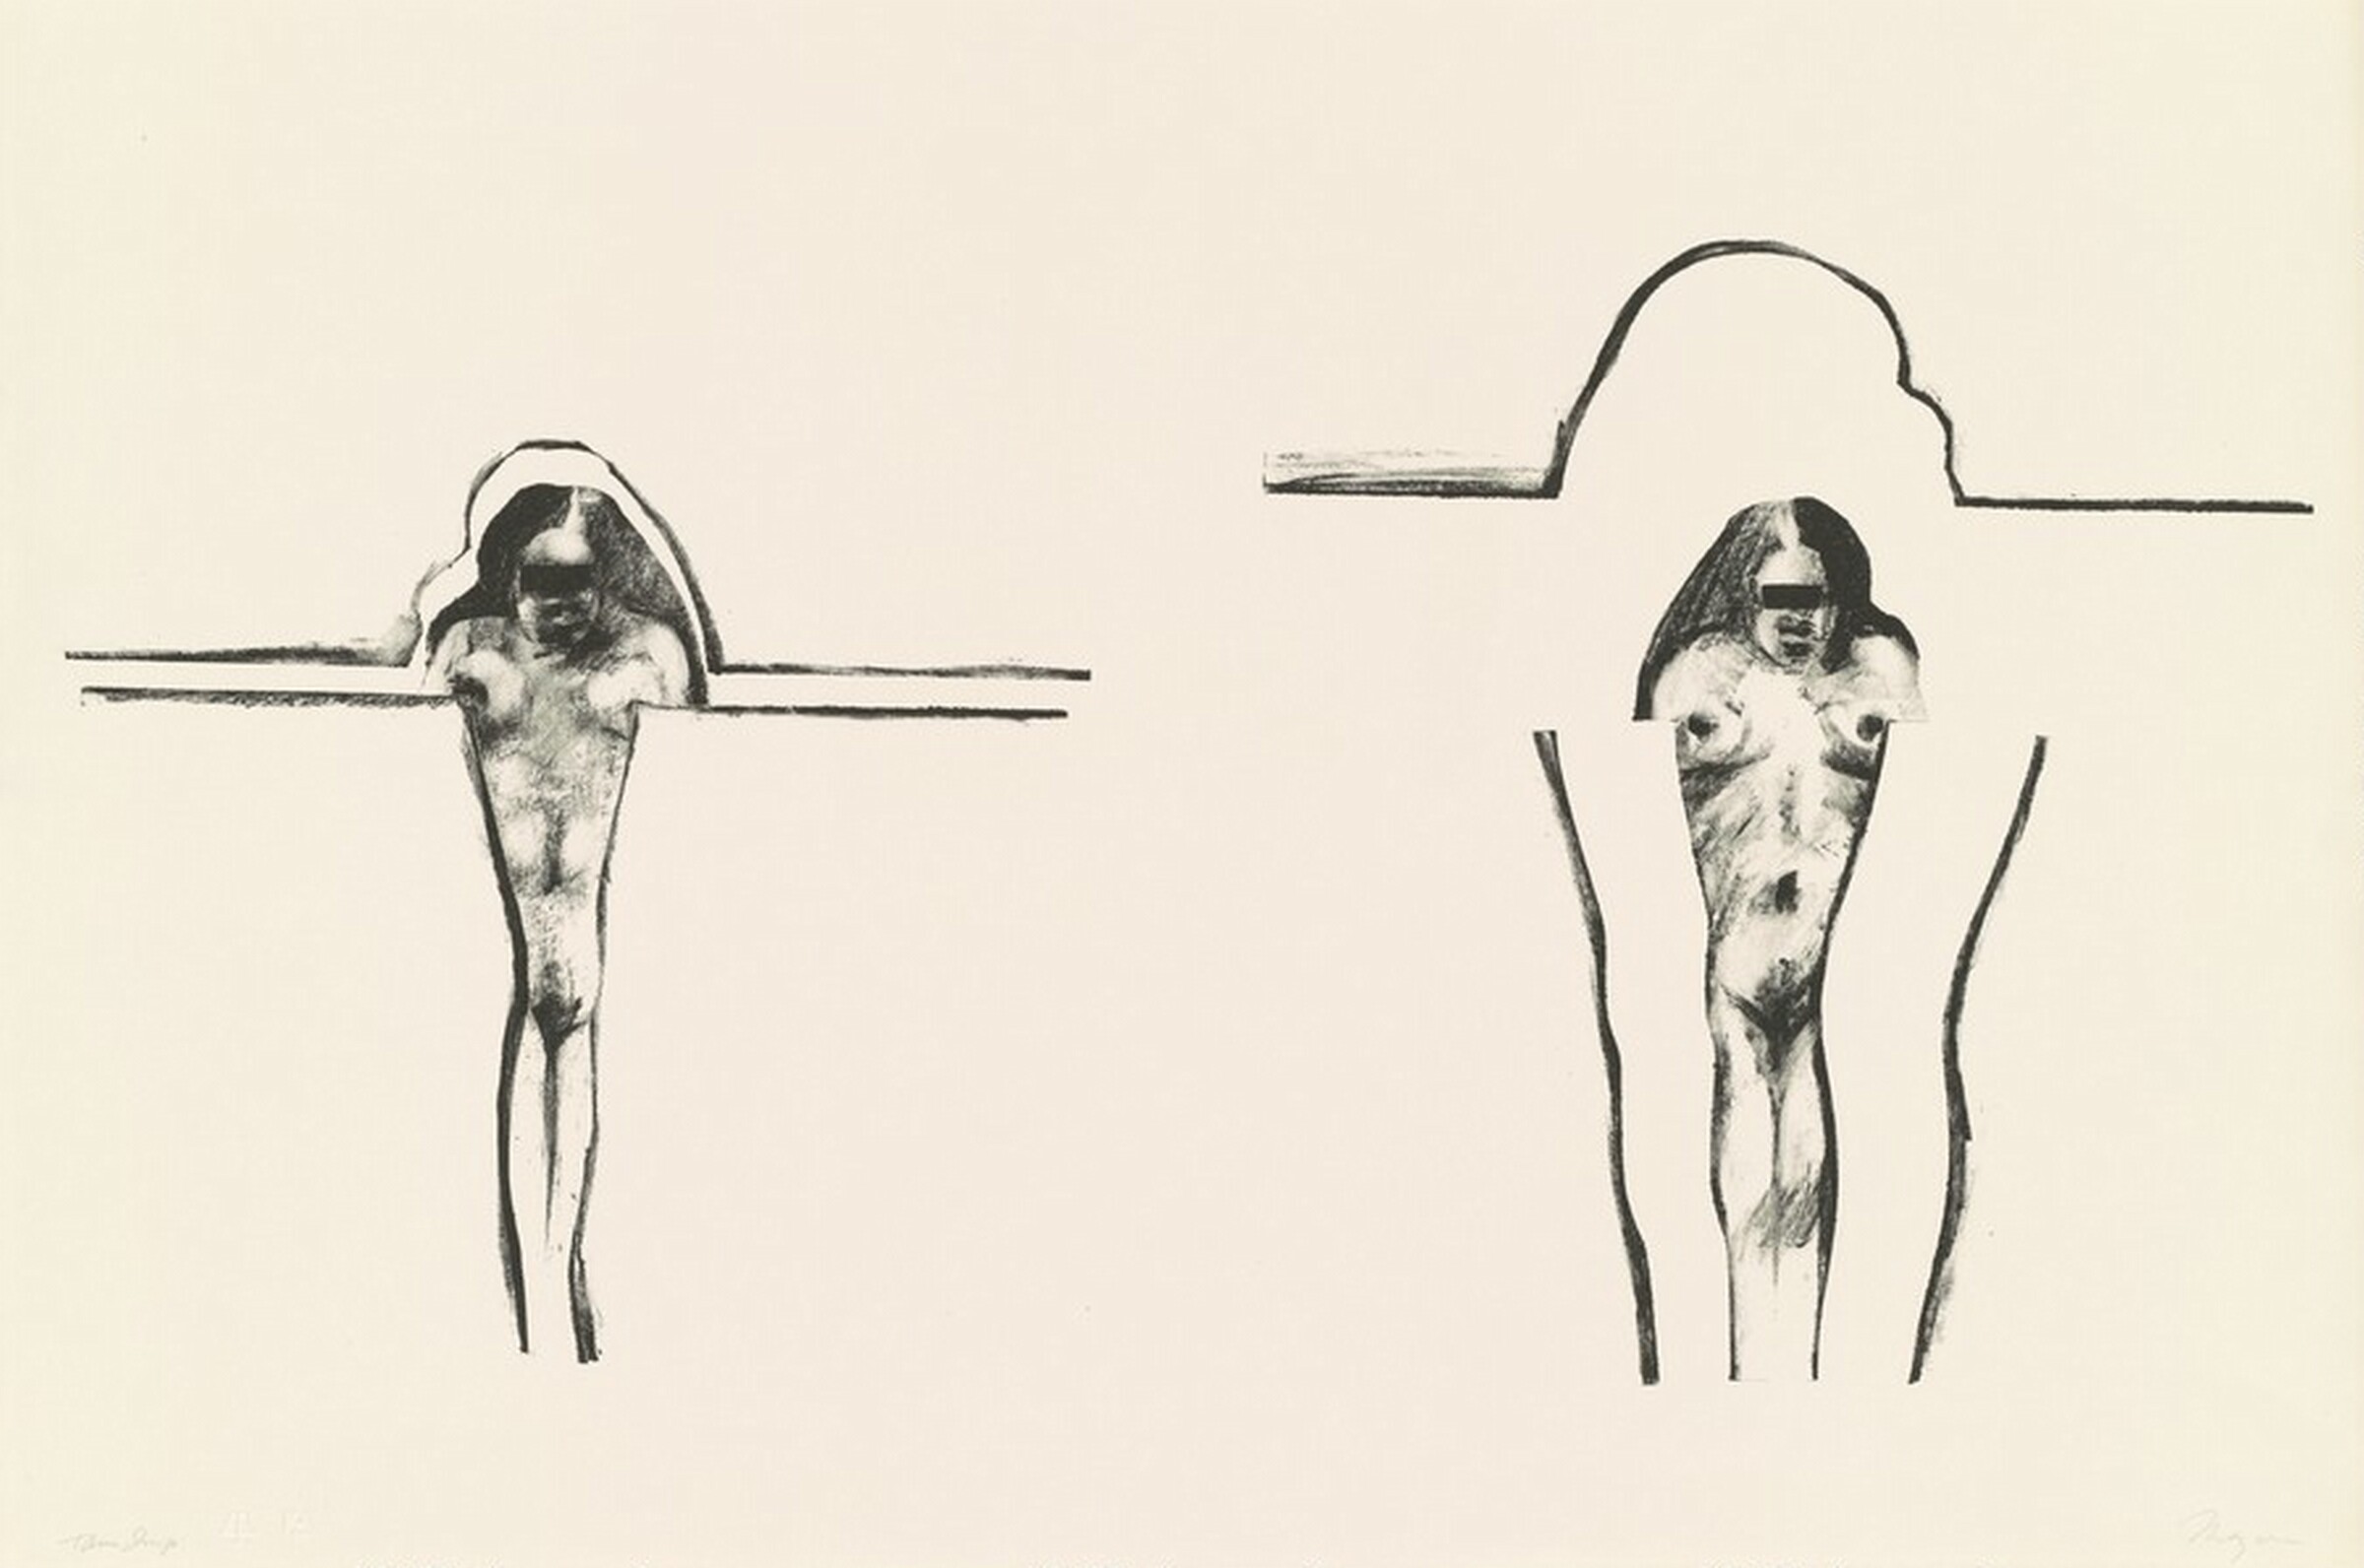
Angelina's Legs (1)
1968 · Non esposta · National Gallery of Art

Untitled
1968 · Non esposta · National Gallery of Art
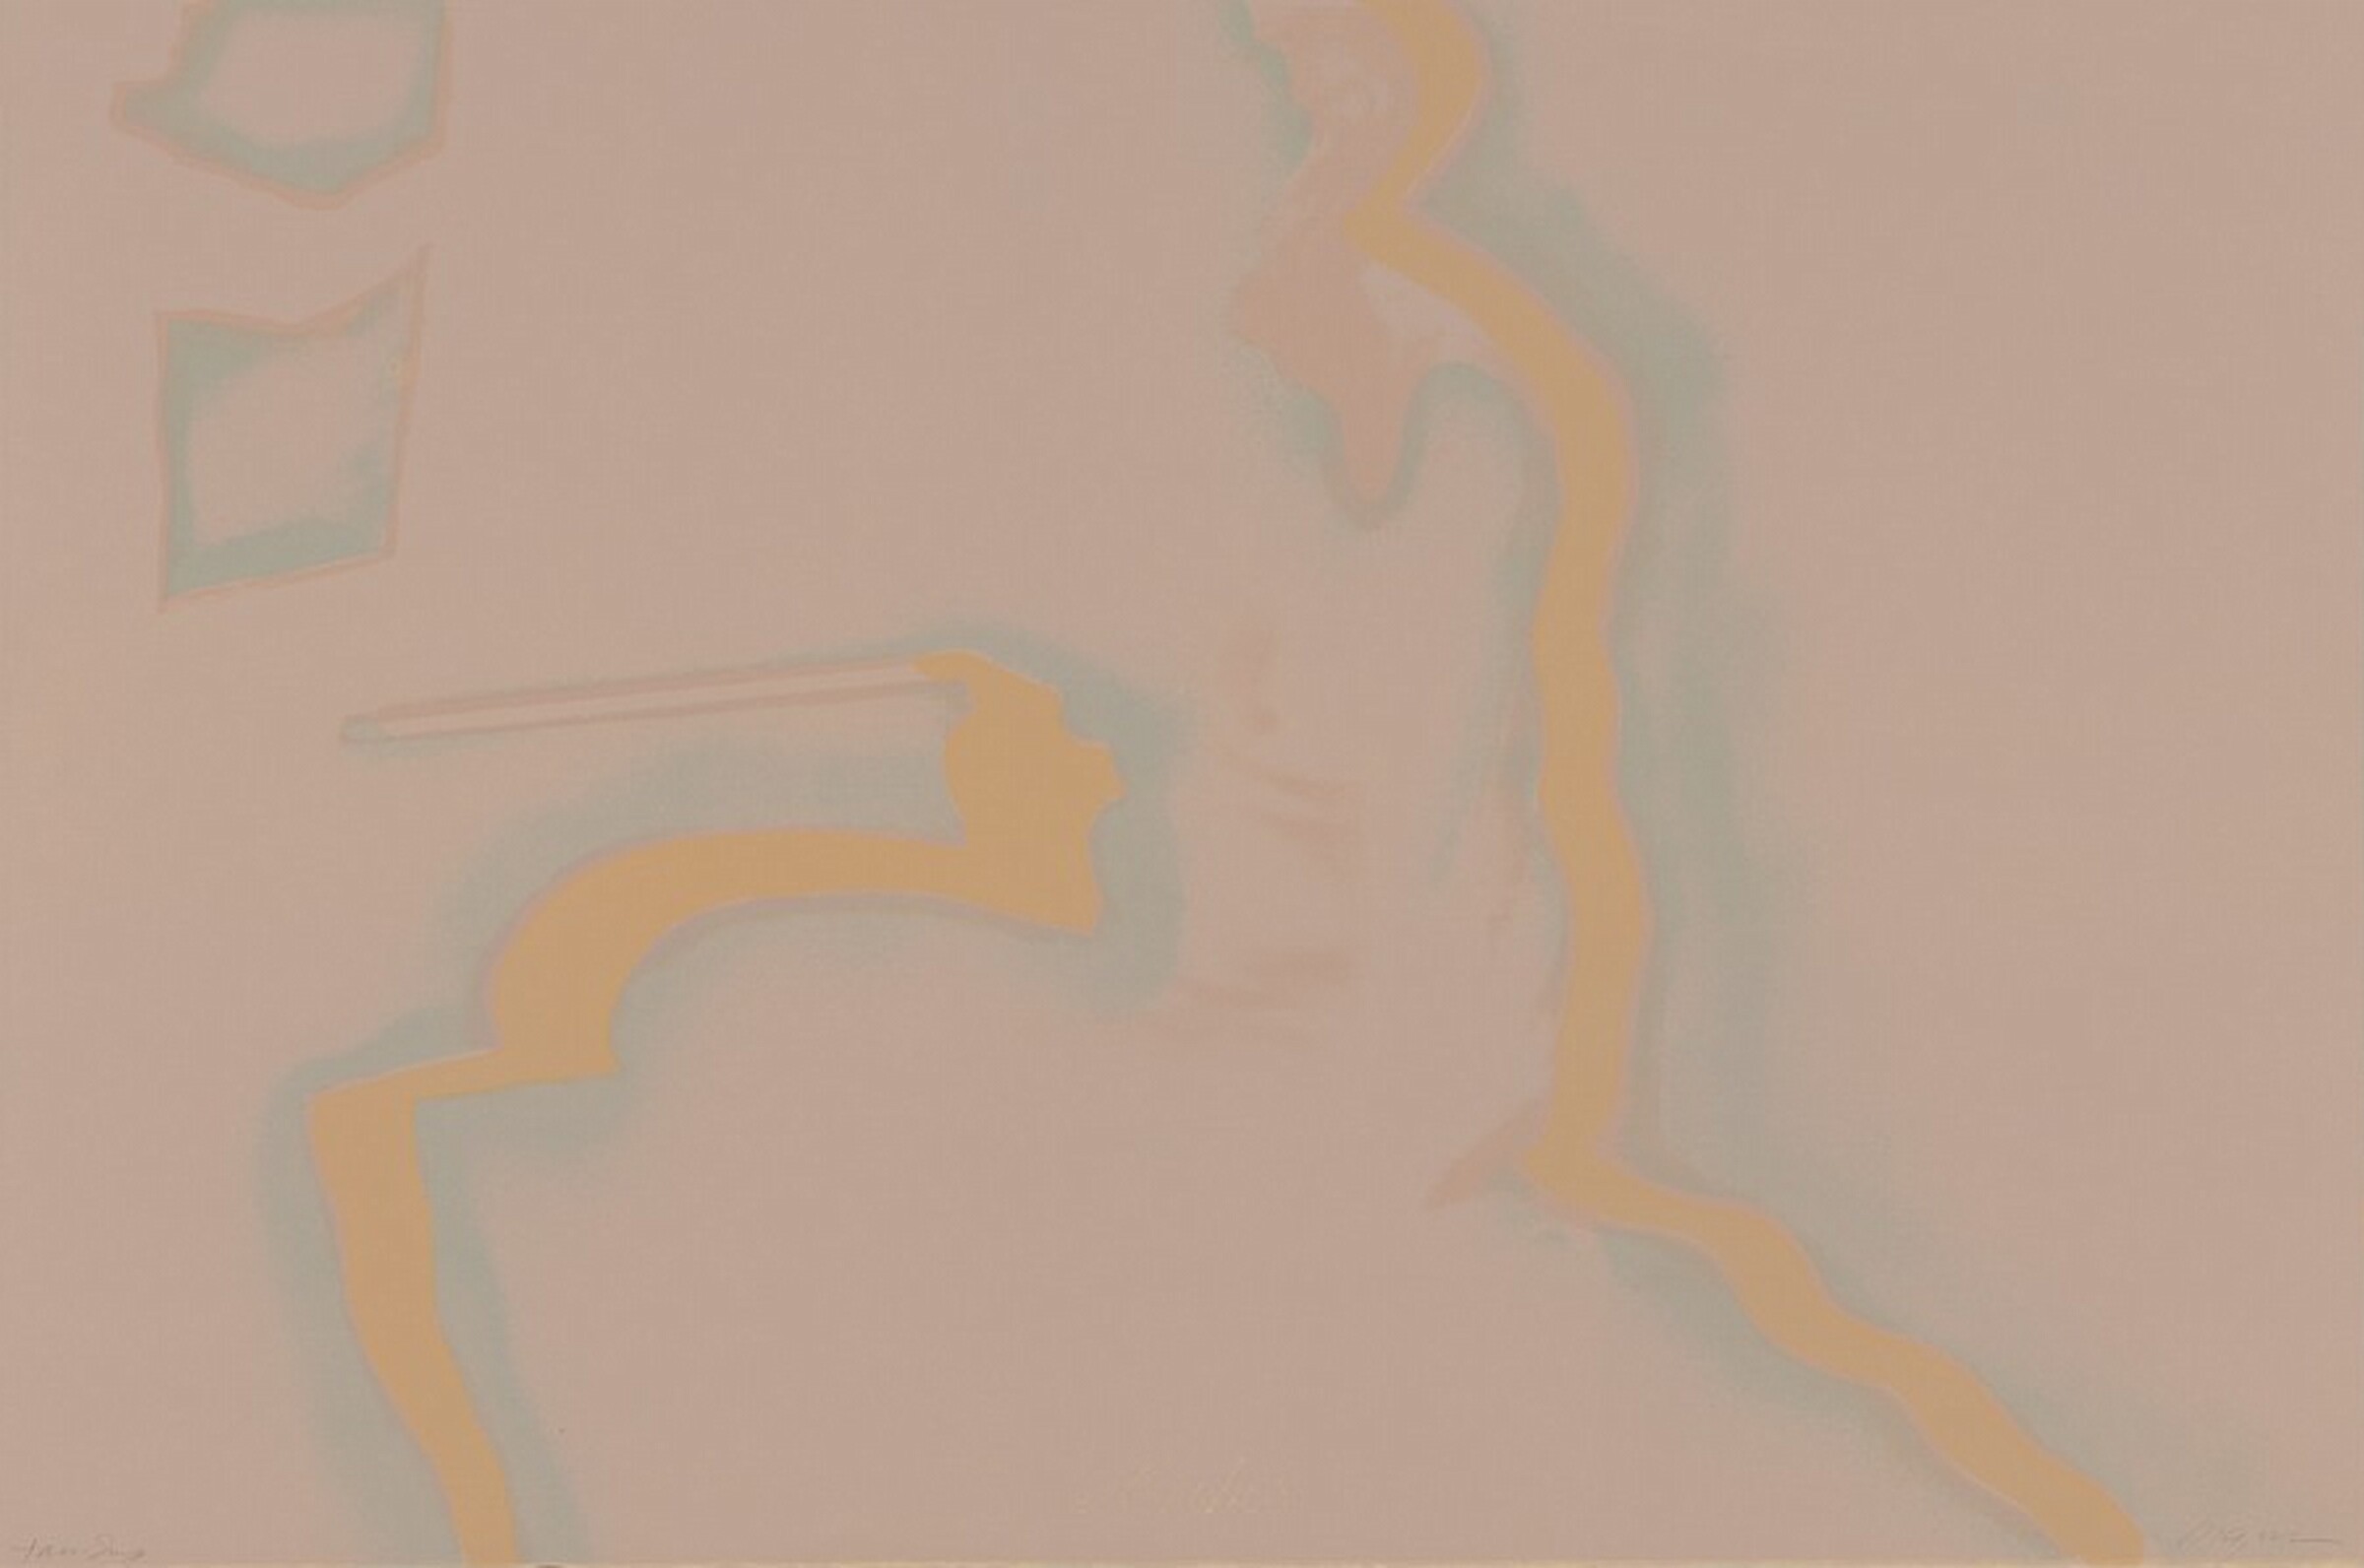
Van Ness Avenue
1968 · Non esposta · National Gallery of Art
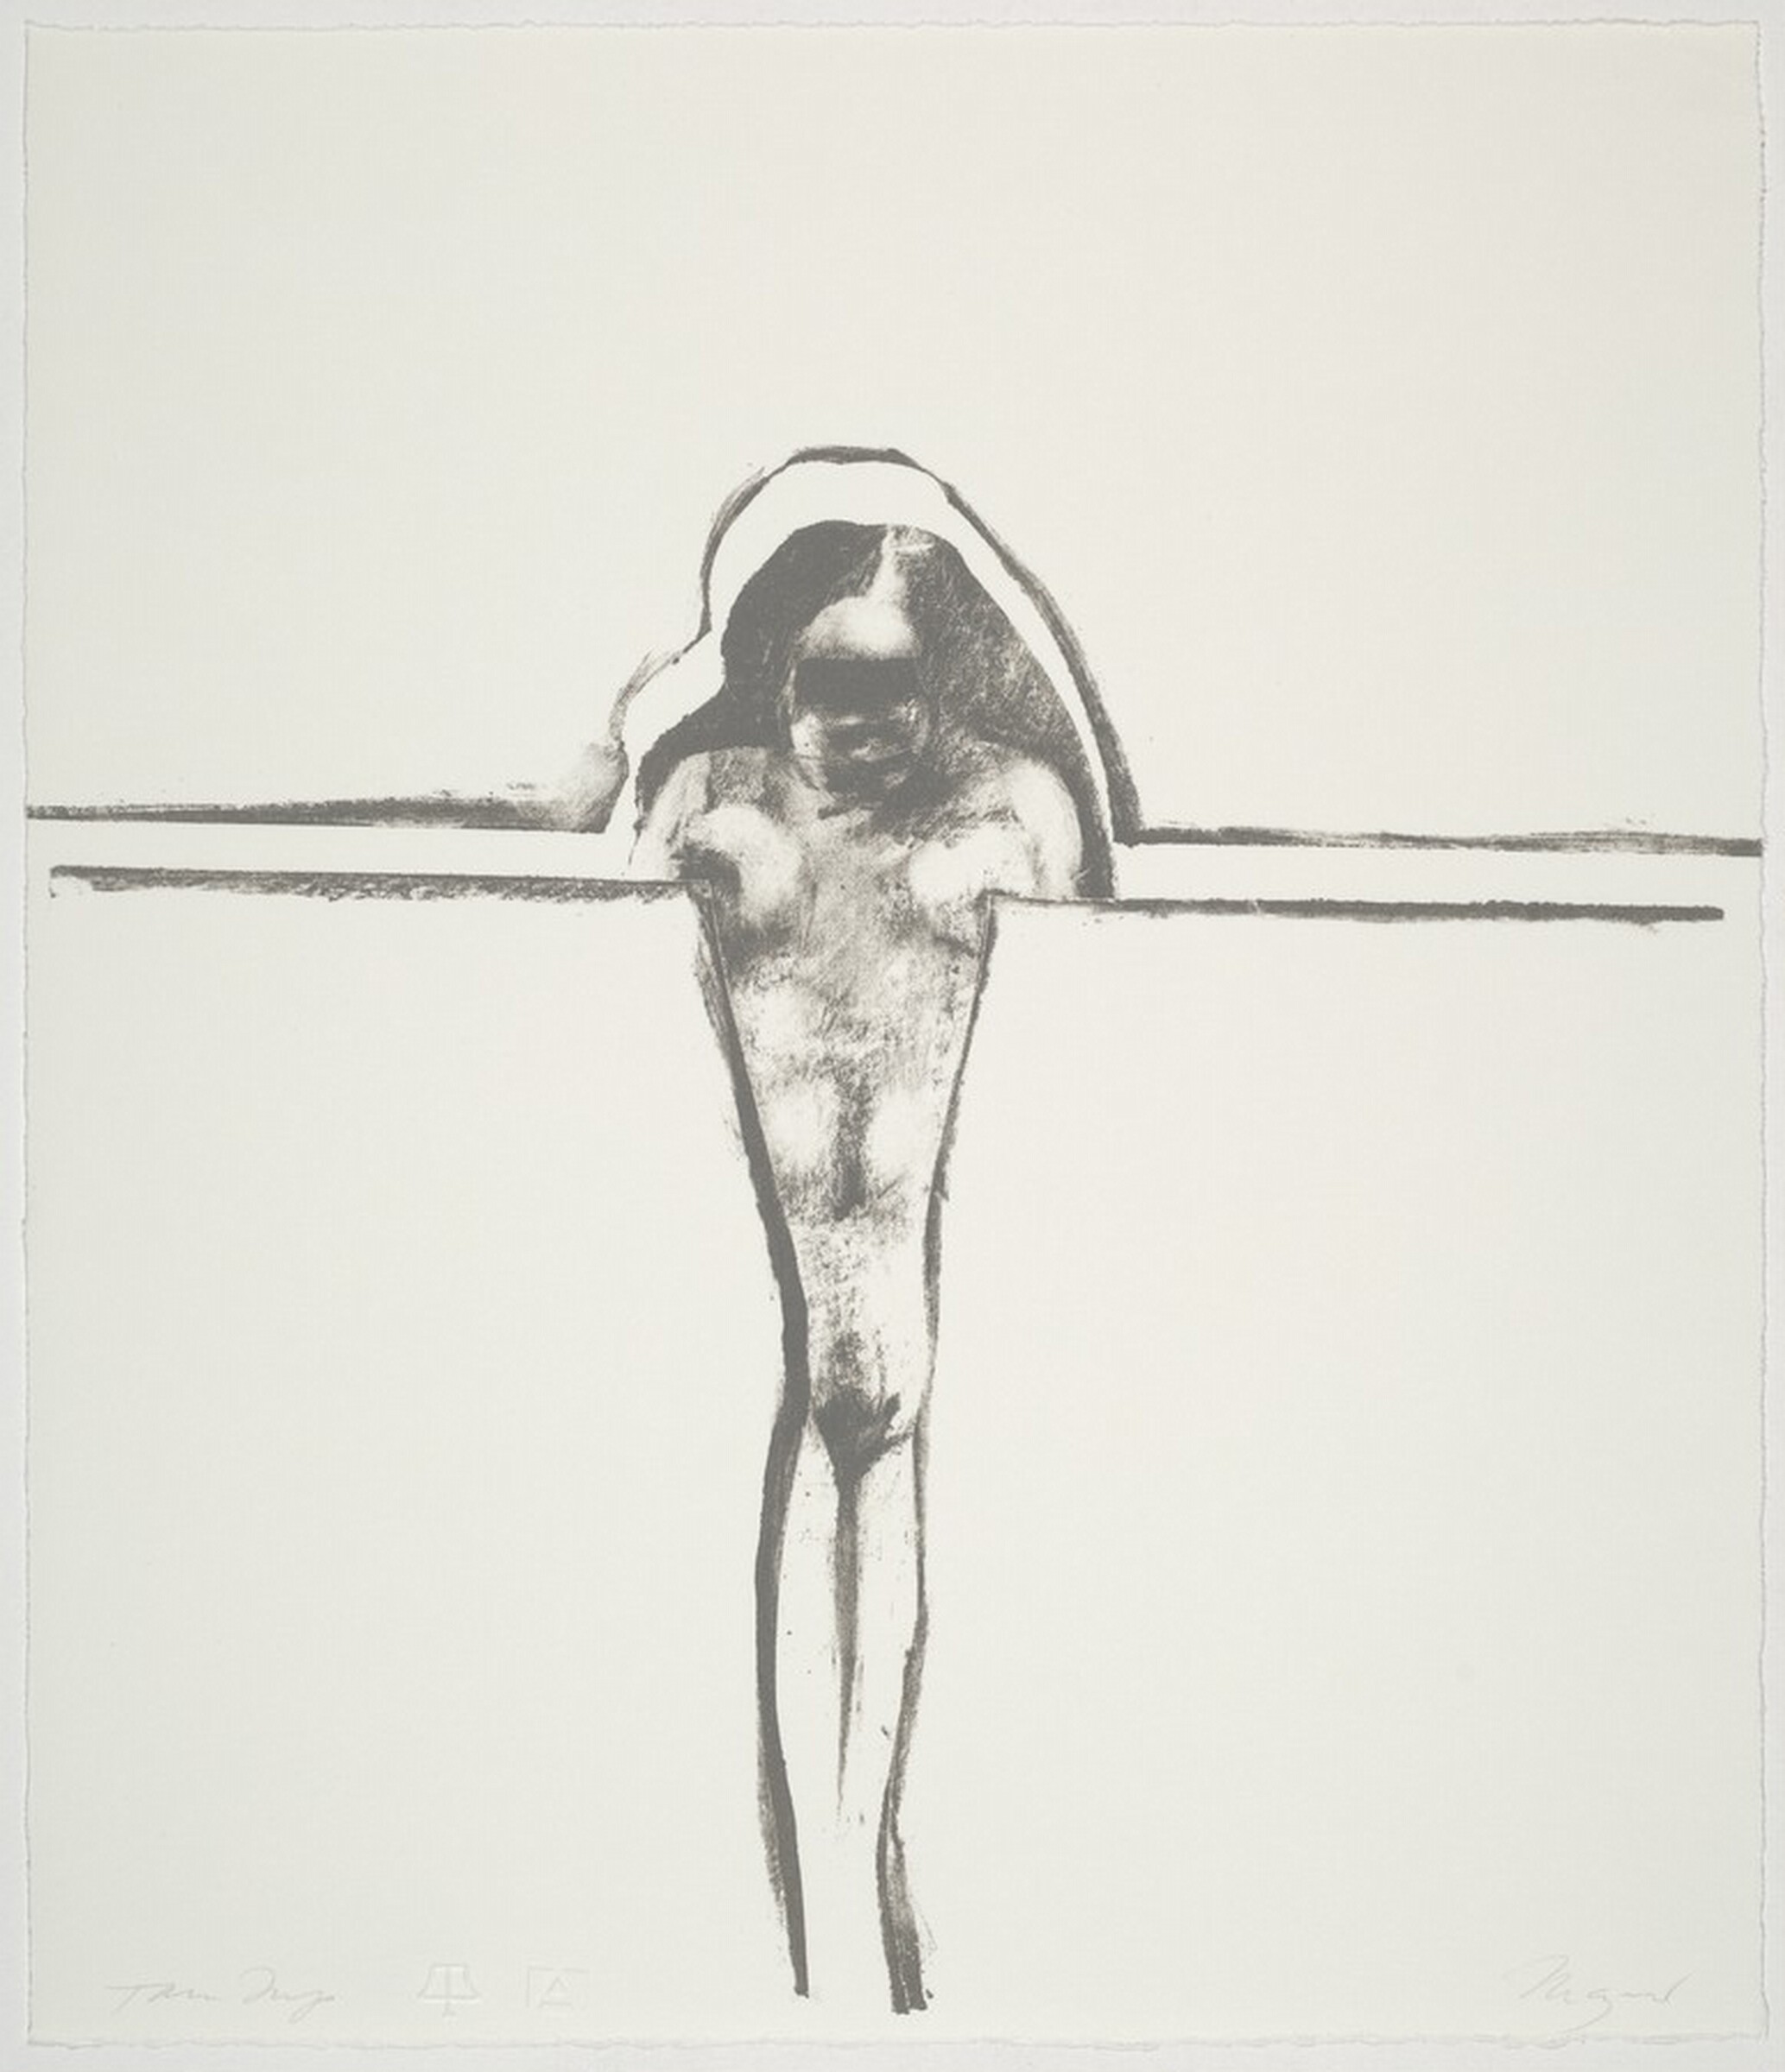
Angelina's Legs A (1)
1968 · Non esposta · National Gallery of Art

Untitled
1968 · Non esposta · National Gallery of Art

Sunset Boulevard III
1968 · Non esposta · National Gallery of Art

Studio Views I
1968 · Non esposta · National Gallery of Art

Untitled (1)
1968 · Non esposta · National Gallery of Art
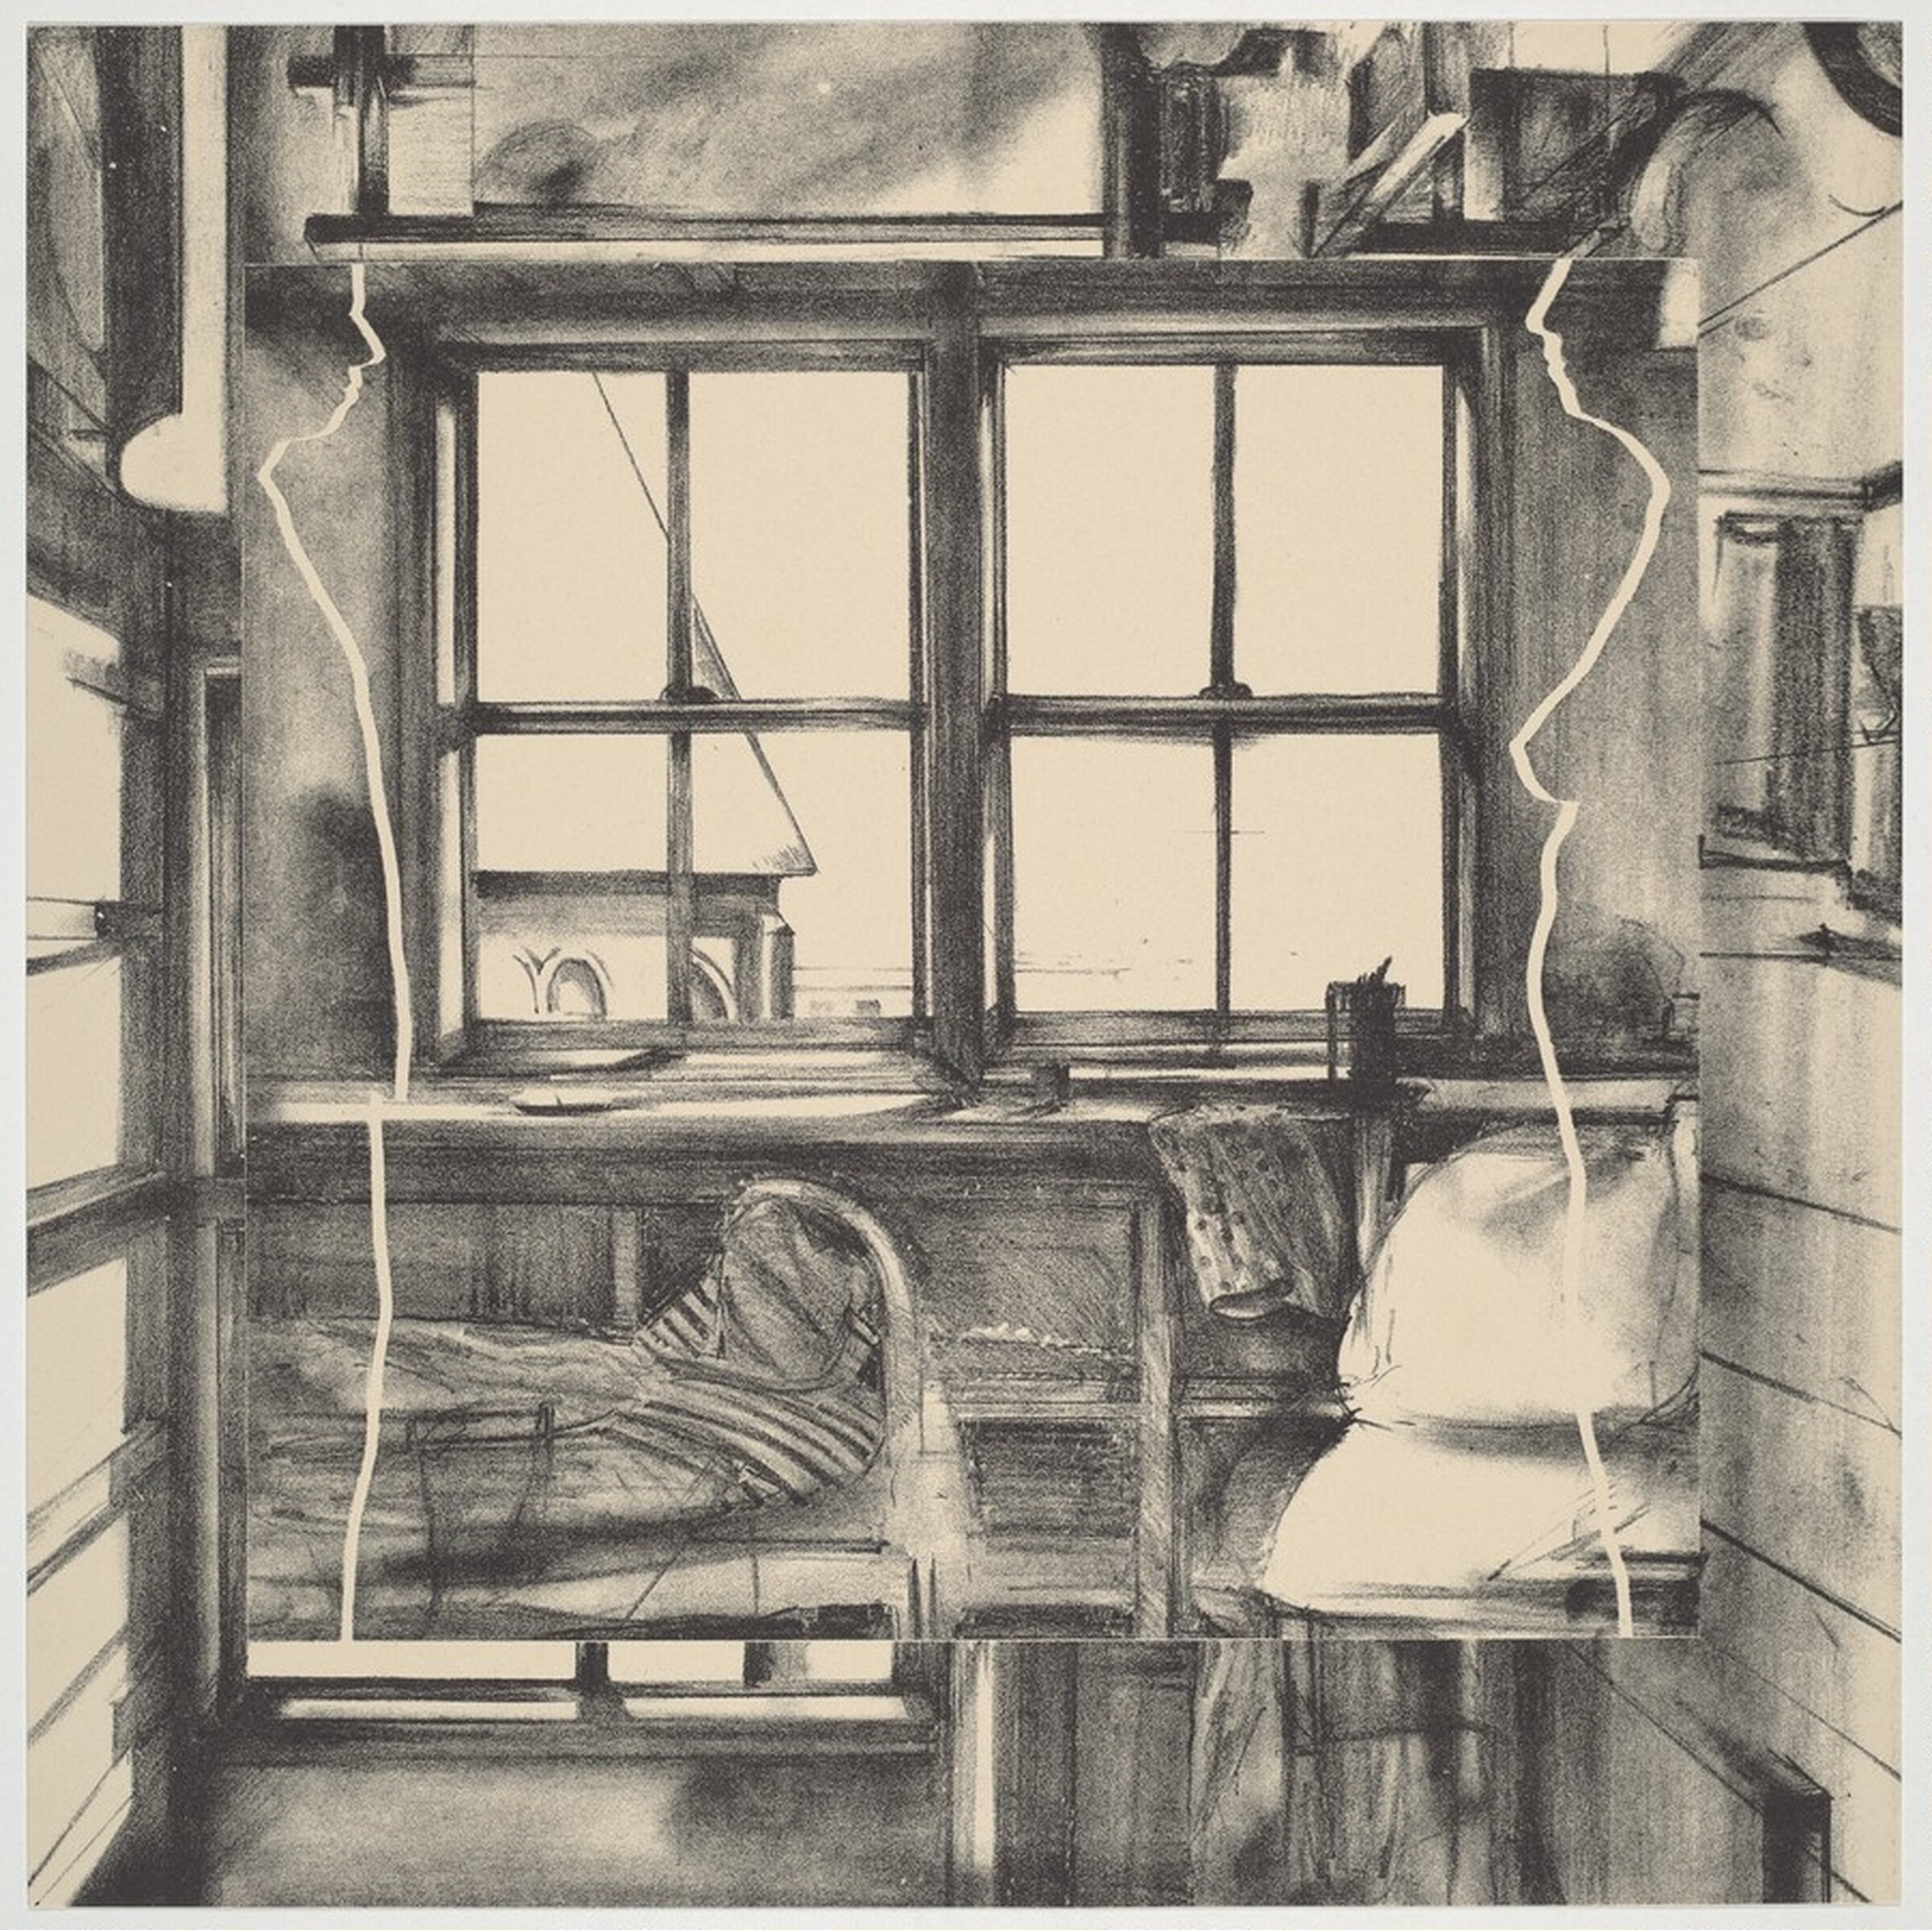
Studio Views III
1968 · Non esposta · National Gallery of Art

Dark Division (1)
1968 · Non esposta · National Gallery of Art
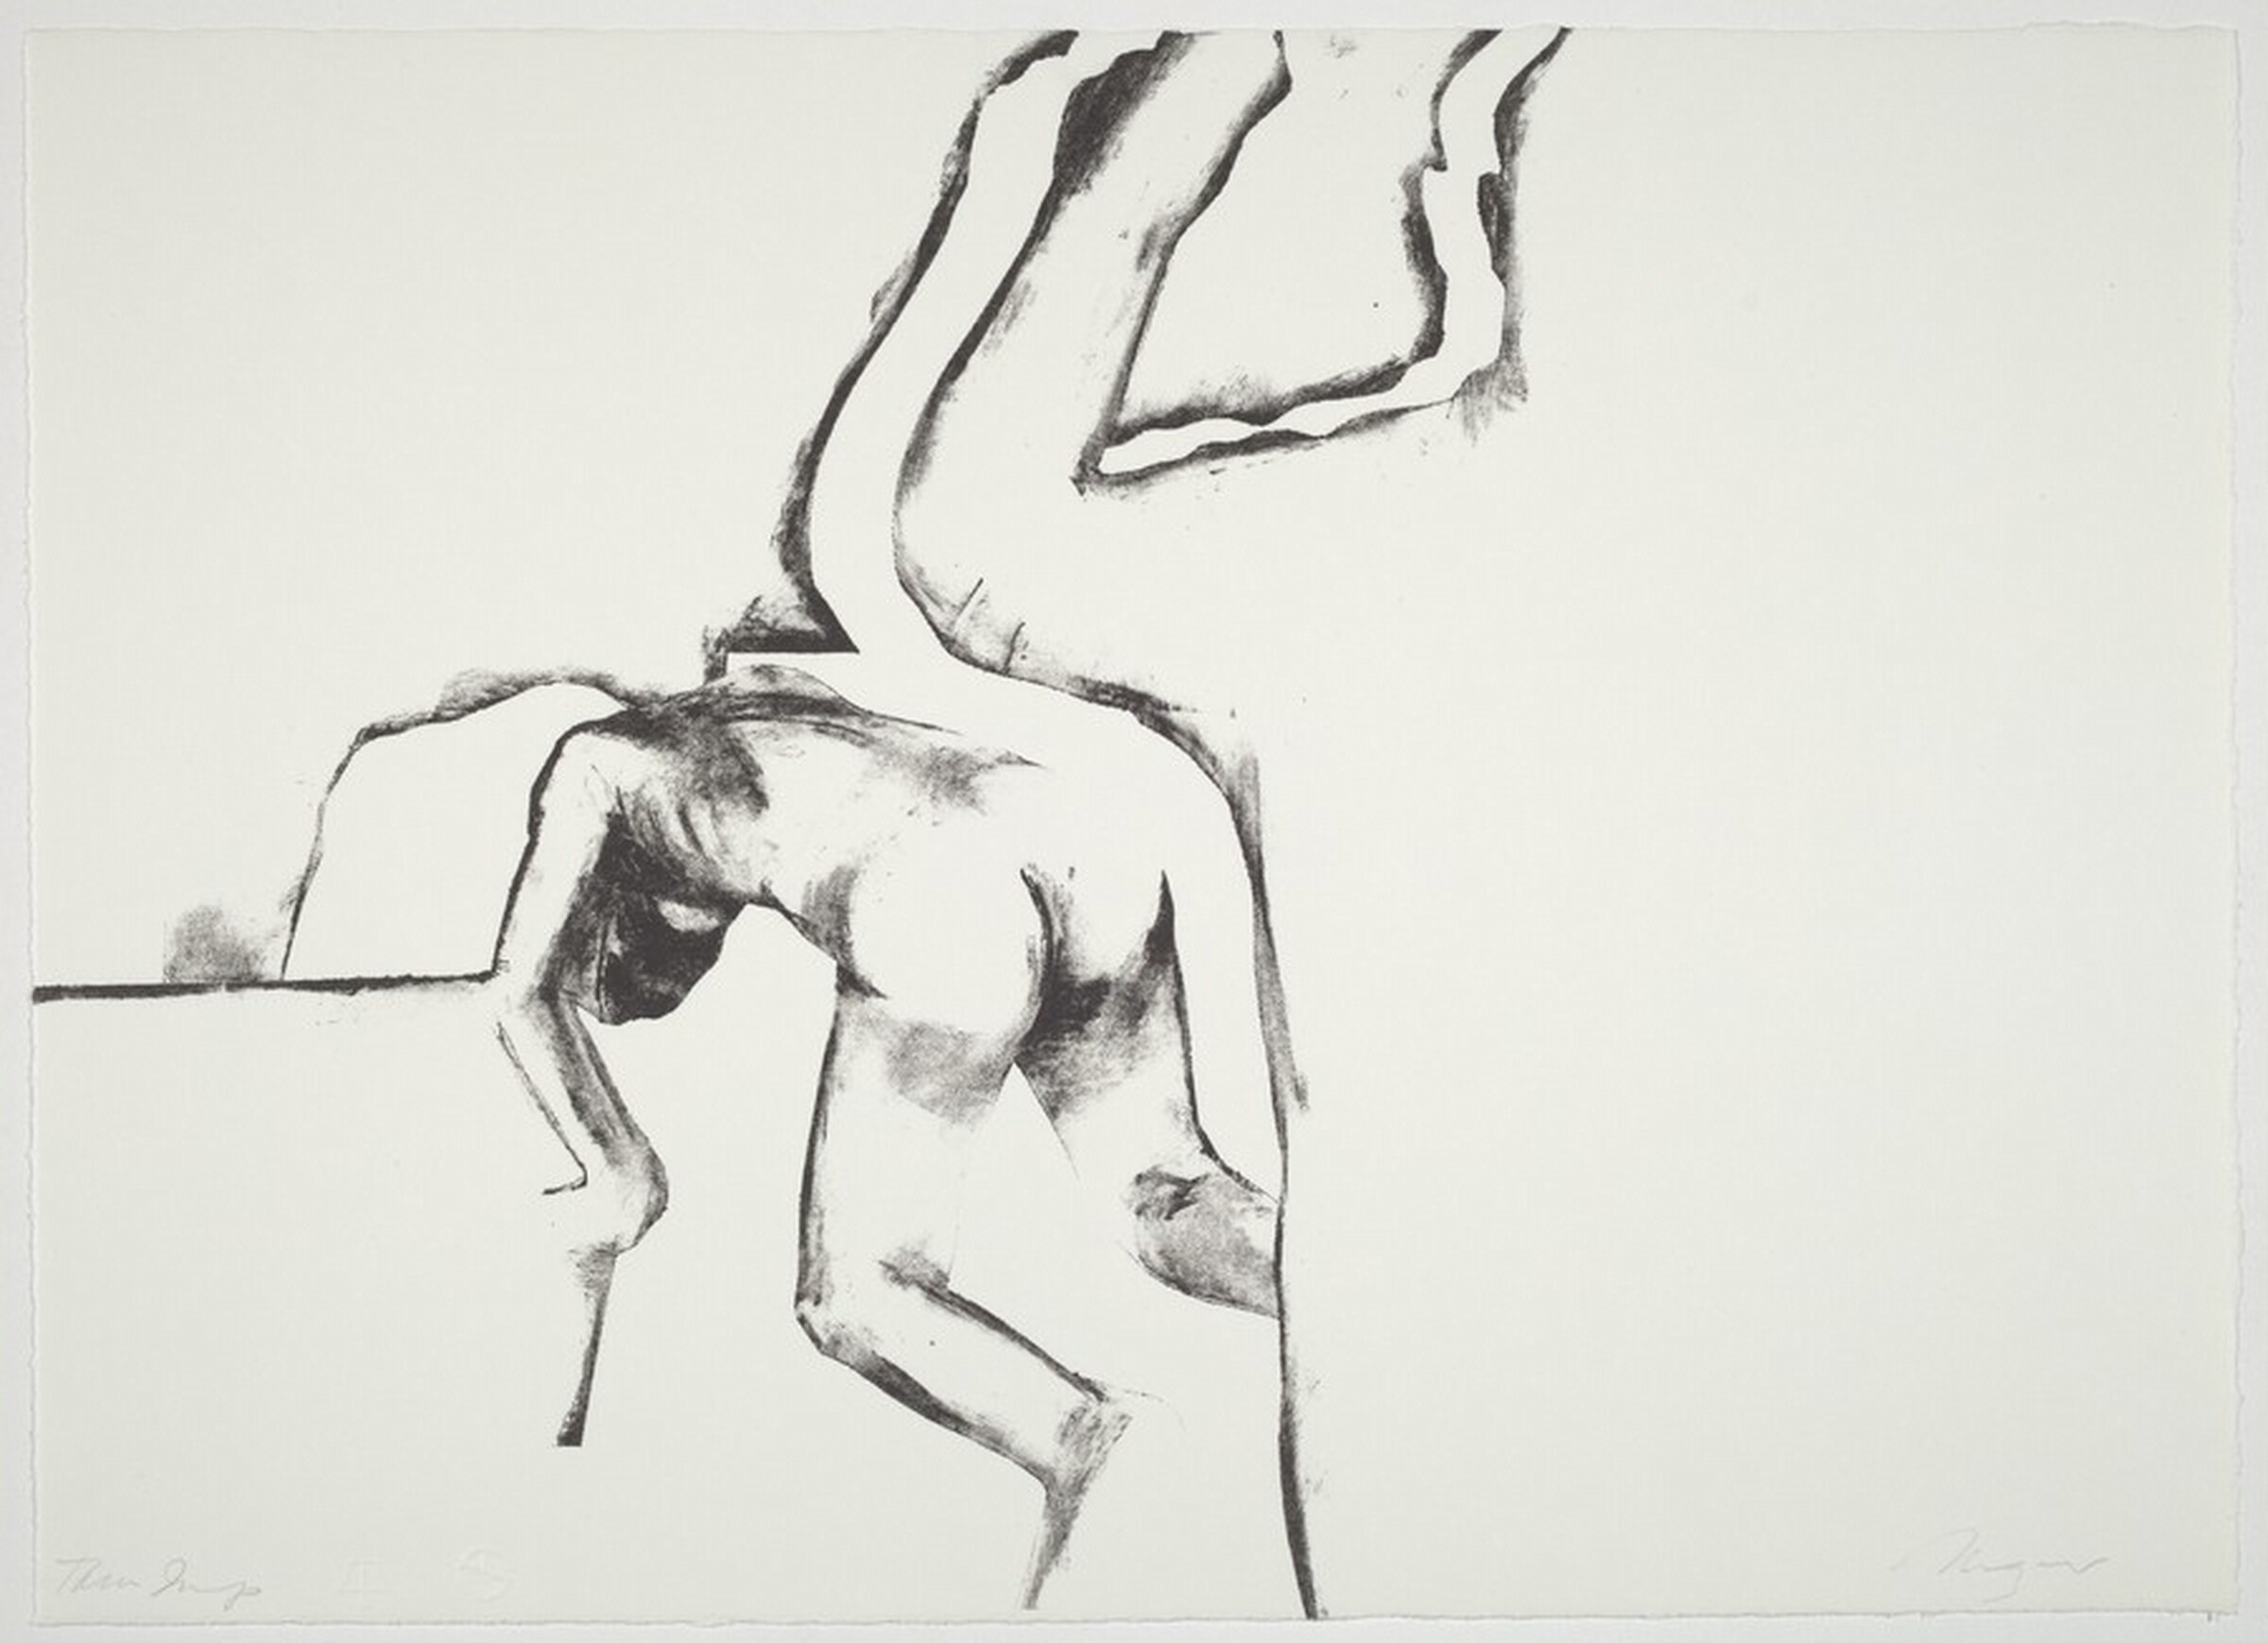
Untitled (1)
1968 · Non esposta · National Gallery of Art

Angelina's Legs B (1)
1968 · Non esposta · National Gallery of Art

Studio Views II
1968 · Non esposta · National Gallery of Art

Untitled (1)
1968 · Non esposta · National Gallery of Art

Untitled (1)
1968 · Non esposta · National Gallery of Art

Smoke
1975 · Yale University Art Gallery

Cage at Stoneham #34
1977 · Non esposta · Yale University Art Gallery

Cyclamen II
1980 · Non esposta · Yale University Art Gallery

Portrait of Missy Daniels I
1980 · Non esposta · Yale University Art Gallery

Islands 85 with Head
1985 · Non esposta · Yale University Art Gallery

Self-Portrait Large Copper
1985–86 · Yale University Art Gallery

Self-Portrait
1985 · Yale University Art Gallery

Self-Portrait
1987 · Yale University Art Gallery

Self-Portrait
1987 · Yale University Art Gallery

Untitled
1991 · Yale University Art Gallery

Crouching Figure II
1991 · Yale University Art Gallery

Crouching Figure I
1991 · Yale University Art Gallery

Inferno of Dante
1997–2002 · Yale University Art Gallery

Ward Group
20th century · Non esposta · Harvard Art Museums

Figure Group
1960–63 · Non esposta · Art Institute of Chicago

Untitled
1960/63 · Non esposta · Art Institute of Chicago

Closed Ward #12
1962 · Non esposta · Art Institute of Chicago

Untitled
1962 · Non esposta · Art Institute of Chicago

Her Place #1: Study for Closed Ward #8 and #12
(1962) · Non esposta · Museum of Modern Art

Figure Study
1963 · Non esposta · Art Institute of Chicago

Portrait from Images from a Locked Ward
1963–65, published 1965 · Non esposta · Museum of Modern Art

Guardian of a Corner from Images from a Locked Ward
1963–65, published 1965 · Non esposta · Museum of Modern Art

"All the Work I do Is in My Neck" from Images from a Locked Ward
1963–65, published 1965 · Non esposta · Museum of Modern Art

The Bench from Images from a Locked Ward
1963–65, published 1965 · Non esposta · Museum of Modern Art

Modules of Madness II from Images from a Locked Ward
1963–65, published 1965 · Non esposta · Museum of Modern Art

The Corridor from Images from a Locked Ward
1963–65, published 1965 · Non esposta · Museum of Modern Art

Companions from Images from a Locked Ward
1963–65, published 1965 · Non esposta · Museum of Modern Art

Modules of Madness I from Images from a Locked Ward
1963–65, published 1965 · Non esposta · Museum of Modern Art

Images from a Locked Ward
1963–65, published 1965 · Non esposta · Museum of Modern Art

The Swing from Images from a Locked Ward
1963–65, published 1965 · Non esposta · Museum of Modern Art

The Room for Sleeping from Images from a Locked Ward
1963–65, published 1965 · Non esposta · Museum of Modern Art

The Frustrated (Title Page) from Images from a Locked Ward
1963–65, published 1965 · Non esposta · Museum of Modern Art

Images from Images from a Locked Ward
1963–65, published 1965 · Non esposta · Museum of Modern Art

This Trip Has Walls from Images from a Locked Ward
1963–65, published 1965 · Non esposta · Museum of Modern Art

Bound Hands Swing from Images from a Locked Ward
1963–65, published 1965 · Non esposta · Museum of Modern Art

Figures Fixed on Figure Falling
1965 · Non esposta · Whitney Museum of American Art

The Corridor, from Images from a Locked Ward
1965 · Non esposta · Art Institute of Chicago

Portfolio Cover, from Images from a Locked Ward
1965 · Non esposta · Art Institute of Chicago

The Bench, from Images from a Locked Ward
1965 · Non esposta · Art Institute of Chicago