
Vereinigtes Königreich, England · 1740–1779
John Hamilton Mortimer
John Hamilton Mortimer: wo die Werke heute zu sehen sind. 2 Werke ausgestellt, die meisten in New Haven. Werke in unserem Katalog: 250; Sammlungen: 14. Geprüft am 19. Oktober 2026.
John Hamilton Mortimer (1740–1779), in Eastbourne geboren, war ein englischer Maler und Grafiker, der bei Robert Edge Pine, Giovanni Battista Cipriani und Joshua Reynolds lernte; er starb in London. Museen bewahren etwa 207 seiner Gemälde, Zeichnungen und Drucke, darunter A Caricature Group von etwa 1766, ein Bildnis des Boxers John Broughton von etwa 1767 und eine Zeichnung des Mucius Scaevola. Das Museo Nazionale di San Martino, das SMK, das Minneapolis Institute of Art, das Rijksmuseum und die Tate führen. Zwei sind jetzt zu sehen.
Wo John Hamilton Mortimer zu sehen ist
Fragen
- Wo kann man John Hamilton Mortimer heute sehen?
- 2 Werke sind ausgestellt. Städte mit den meisten ausgestellten Werken: New Haven (2). Geprüft am 19. Oktober 2026.
- Welches Museum hat die meisten Werke von John Hamilton Mortimer?
- Die meisten Werke in unserem Katalog hat Yale Center for British Art: 71.
- Wie viele Werke von John Hamilton Mortimer sind in Museumssammlungen?
- Werke in unserem Katalog: 250. Museumssammlungen: 14. Länder: 6.
- Wann lebte John Hamilton Mortimer?
- Geboren 1740. Gestorben 1779. Nationalität: Vereinigtes Königreich, England.

A Caricature Group
ca. 1766 · Yale Center for British Art

John Broughton
ca. 1767 · Yale Center for British Art

Mucius Scaevola [recto]
Nicht ausgestellt · National Gallery of Art

Studies with Central Female Face
Nicht ausgestellt · National Gallery of Art

Three Soldiers in Armour Sitting on Stone Blocks
undated · Yale Center for British Art

Studies of Groups of Heads
undated · Yale Center for British Art

Portrait of John Saxby
undated · Yale Center for British Art

Reclining Female Figure in an Italian Landscape
undated · Yale Center for British Art

Two Heads in a Roundel
undated · Yale Center for British Art

Studies of Academics
undated · Yale Center for British Art

Portrait of James Tuffs
undated · Yale Center for British Art

Edgar, from King Lear, Act III, Scene iii
Yale Center for British Art
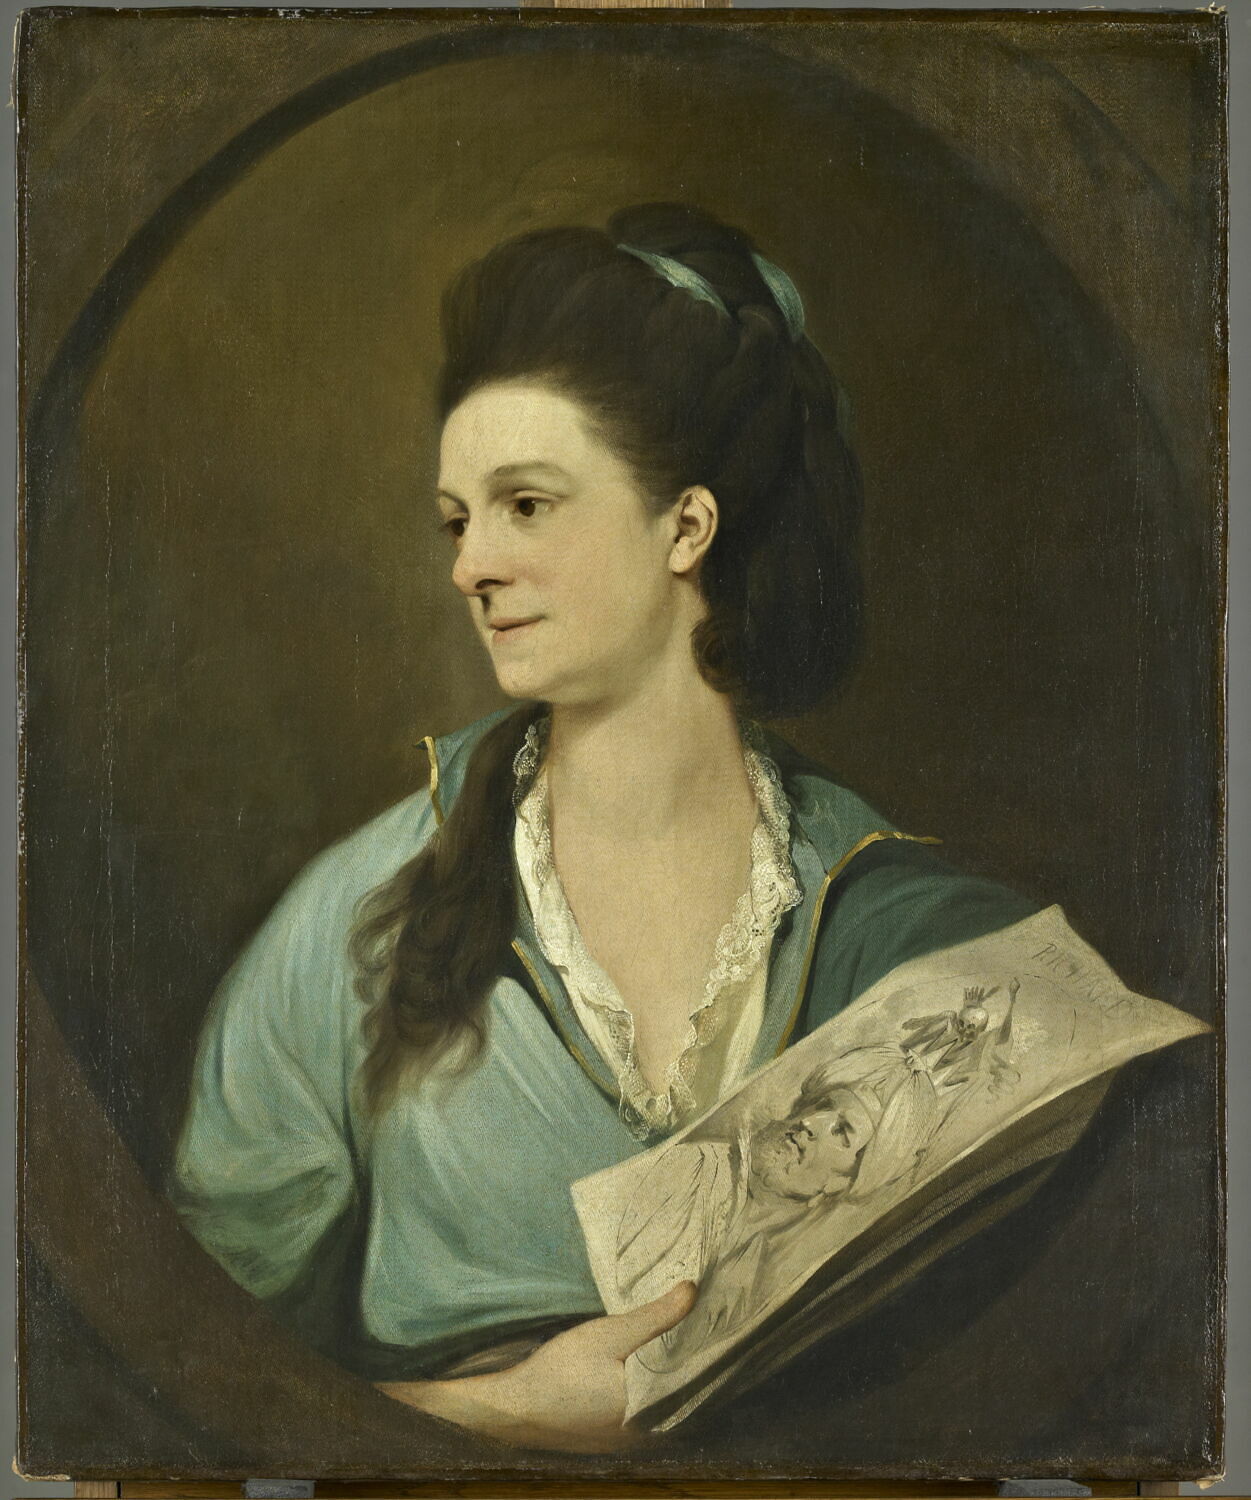
Portrait d'une dame tenant une estampe de l'artiste dit portrait présumé de lady Pigott tenant une estampe
XVIIIe siècle (1700 - 1800) · Nicht ausgestellt · Louvre

Designs for Decorative Vases
1760s/1770s · Nicht ausgestellt · National Gallery of Art

George Thompson, his Wife and (?) his Sister-in-Law
1760s · Tate Gallery

Self-Portrait with His Father and His Brother
early 1760s · Nicht ausgestellt · Yale Center for British Art
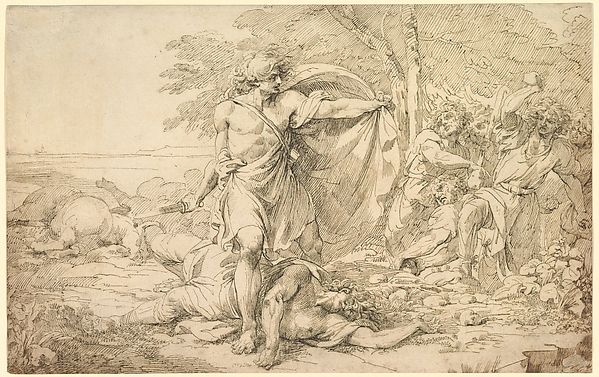
Classical Subject of Fighting
1760–79 · Nicht ausgestellt · Metropolitan Museum of Art

Bardolph
1763 · Nicht ausgestellt · National Gallery of Art

Classical Figures, after Charles Le Brun
ca. 1763 · Nicht ausgestellt · Metropolitan Museum of Art

Portrait of a Man and a Boy Looking at Prints
between 1765 and 1770 · Nicht ausgestellt · Yale Center for British Art

Portrait of a Man and an Attendant carrying a Portfolio
ca. 1765 · Nicht ausgestellt · Yale Center for British Art

The Reviewers' Cave
1765 · Nicht ausgestellt · Metropolitan Museum of Art

The Virgin Teaching St. John
ca. 1766 · Yale Center for British Art

The Virgin Teaching St. John
1766 · Nicht ausgestellt · Metropolitan Museum of Art

Thomas Le Blanc
ca. 1767 · Nicht ausgestellt · Yale Center for British Art

Banditti Taking His Post
late 18th century · Nicht ausgestellt · Metropolitan Museum of Art

Three Oriental Heads
1770/1775 · Nicht ausgestellt · National Gallery of Art

Bacchanal
1770/1775 · Nicht ausgestellt · National Gallery of Art

Three Oriental Heads
1770/1775 · Nicht ausgestellt · National Gallery of Art

Three Oriental Heads
1770/1775 · Nicht ausgestellt · National Gallery of Art

Two Oriental Heads
1770/1775 · Nicht ausgestellt · National Gallery of Art

Study for "The Rustic Dancers"
c. 1770/1774 · Nicht ausgestellt · National Gallery of Art

Man attacking a monster
between 1770 and 1780 · Nicht ausgestellt · Yale Center for British Art

A Man Kneeling
1770 · Yale Center for British Art

An Unknown Woman
ca. 1770 · Nicht ausgestellt · Yale Center for British Art

Beaching a Fishing Boat in a Gale
1770–79 · Nicht ausgestellt · Metropolitan Museum of Art

Banditti in a mountainous landscape
1770–79 · Nicht ausgestellt · Metropolitan Museum of Art
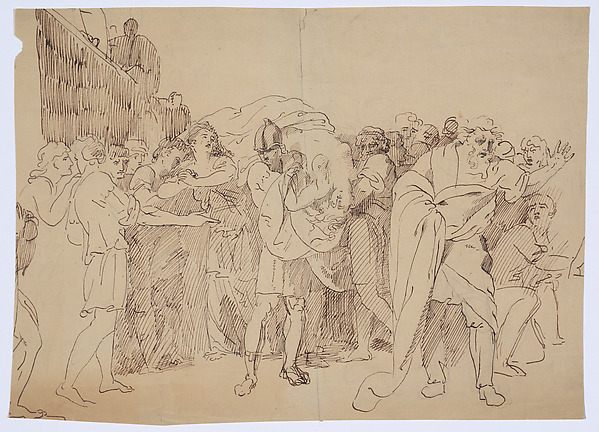
Lucretia's Dead Body is Carried by her Husband, Led by her Mourning Father
1770–79 (?) · Nicht ausgestellt · Metropolitan Museum of Art

Banditti Robbing Fishermen
1771 · Nicht ausgestellt · National Gallery of Art

Two Men Fighting Before a Woman
1771 · Yale Center for British Art

Incantation
1773 · Nicht ausgestellt · National Gallery of Art

An Academy
ca. 1773 · Yale Center for British Art

West Gate of Pevensey Castle, Sussex
between 1773 and 1774 · Nicht ausgestellt · Yale Center for British Art

Bandit Taking up His Post
1773 · Detroit Institute of Arts

Stripping the Slain
ca. 1773 · Nicht ausgestellt · Metropolitan Museum of Art

Mary Lushington (née Altham)
1774 · Nicht ausgestellt · Yale Center for British Art

Poet
1775 · Nicht ausgestellt · National Gallery of Art

Beatrice
1775/1776 · Nicht ausgestellt · National Gallery of Art
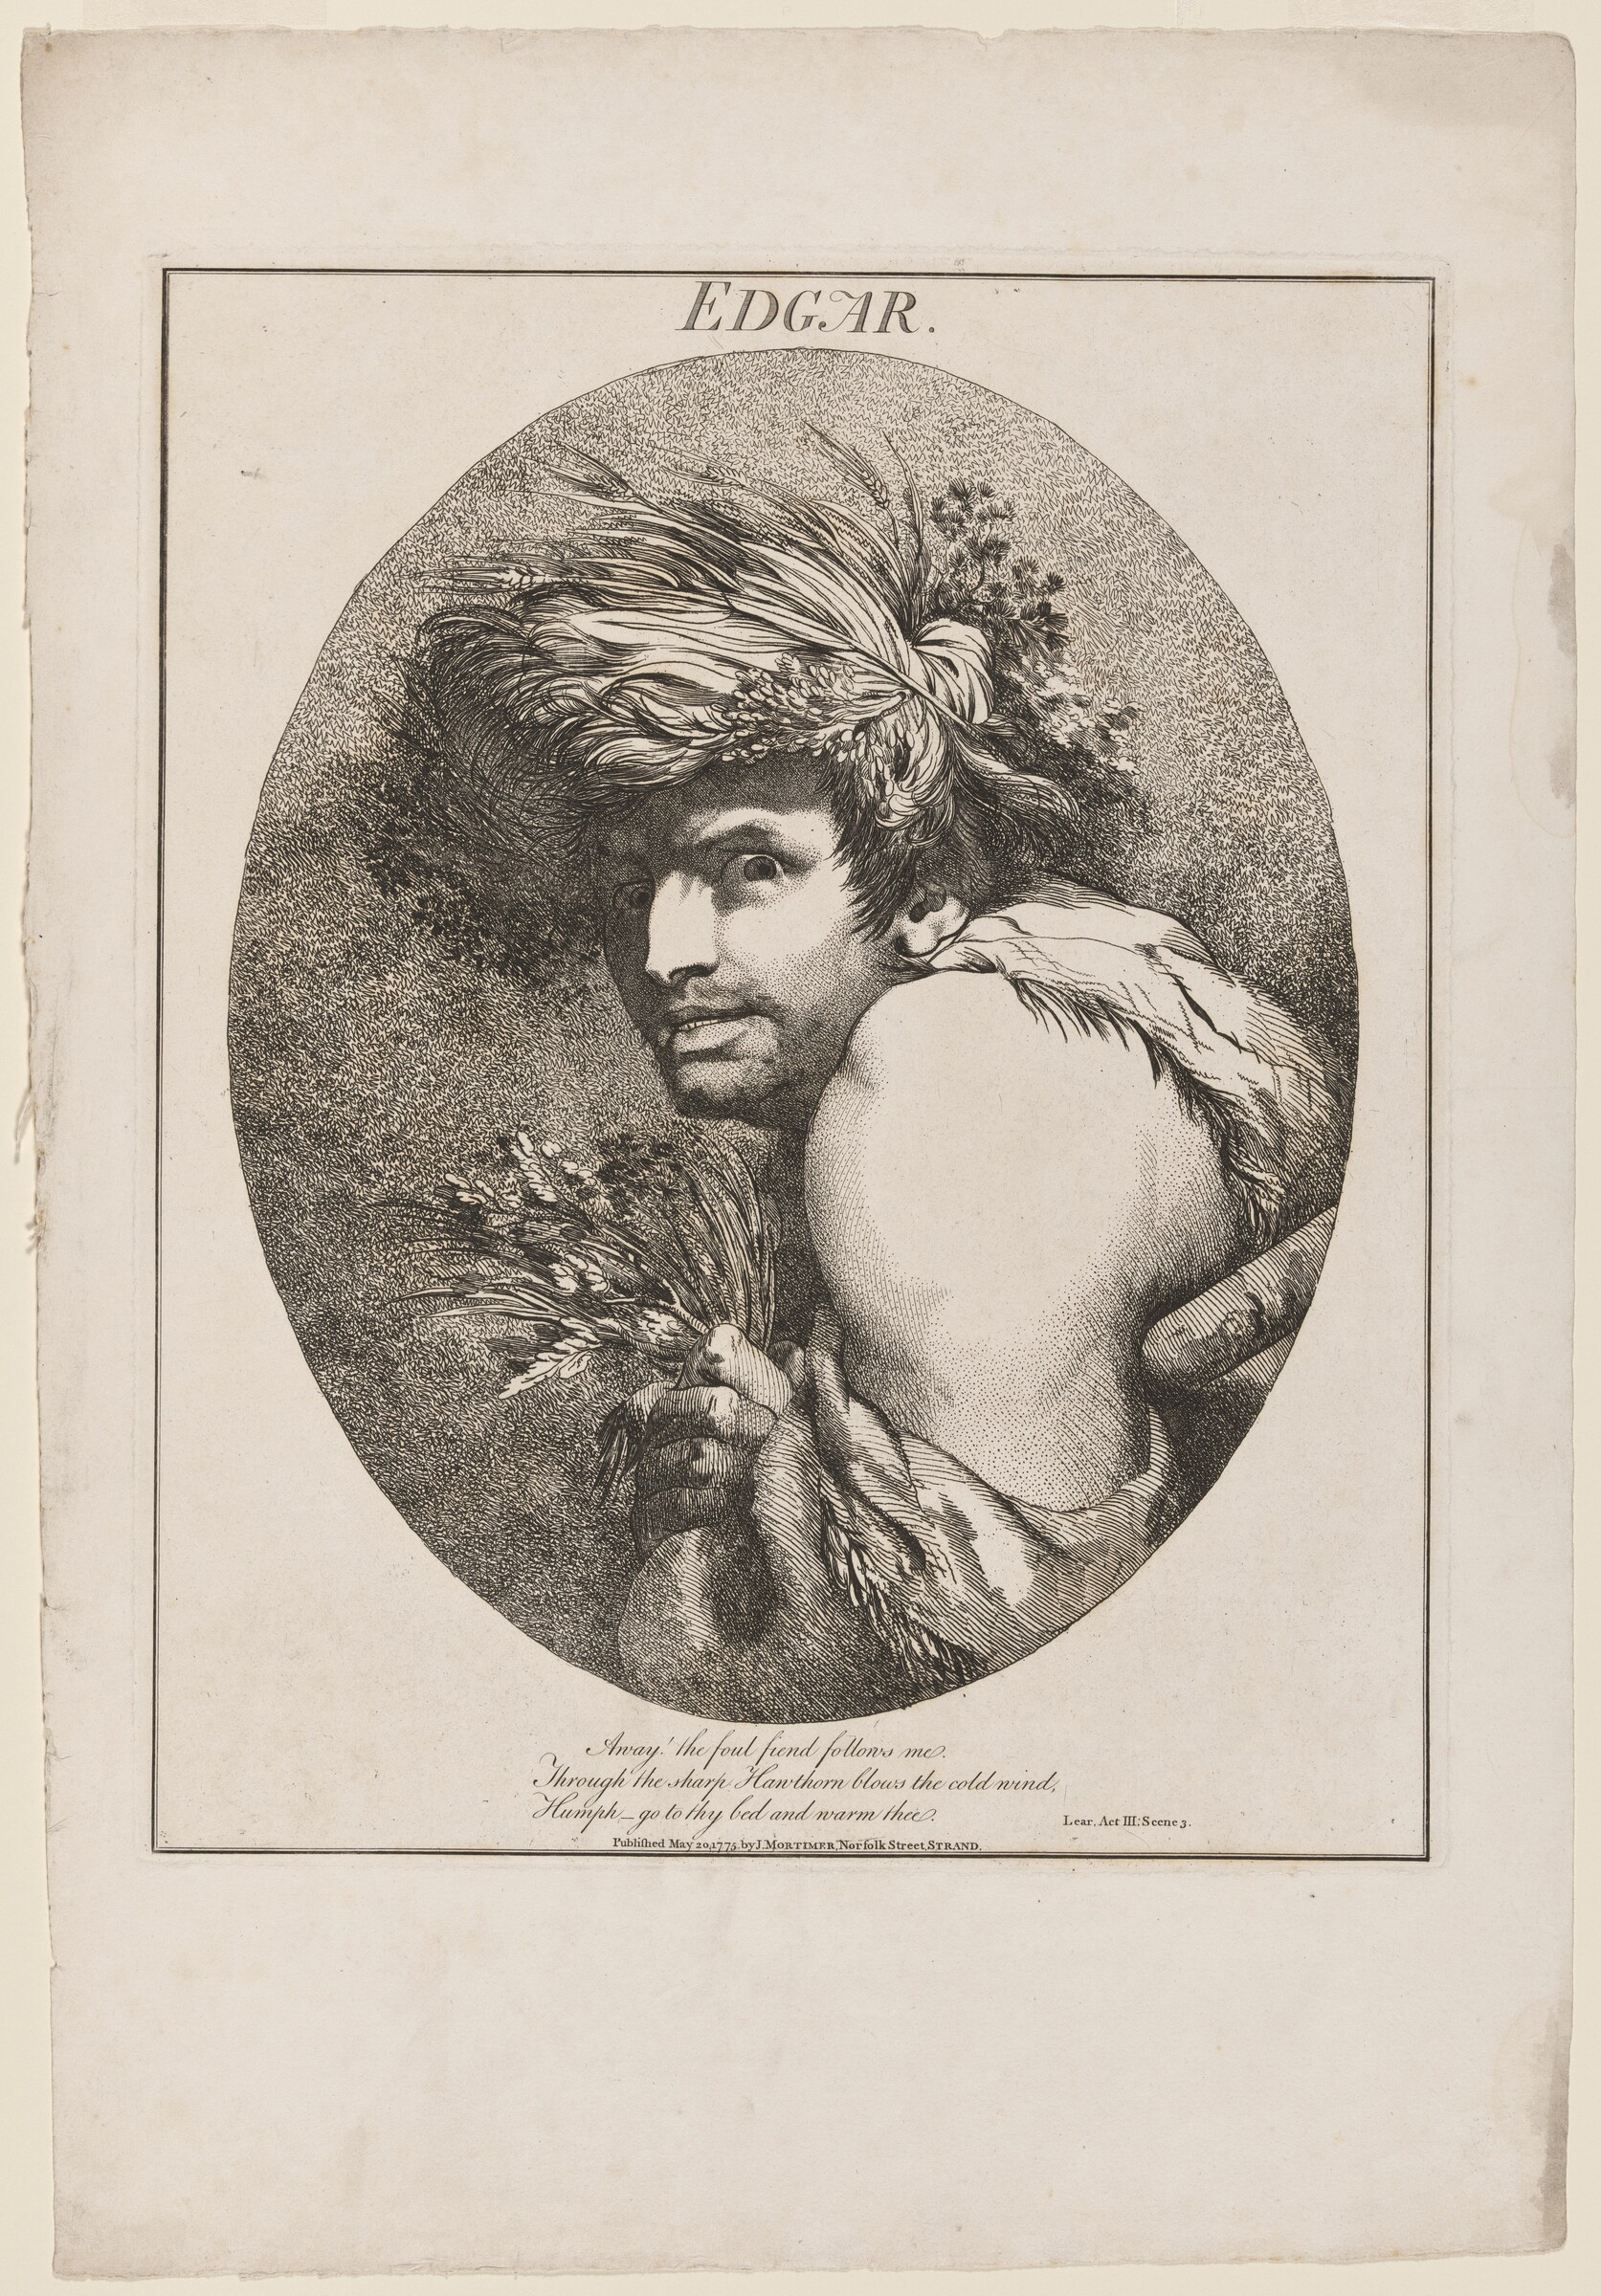
Edgar
1775 · Nicht ausgestellt · National Gallery of Art
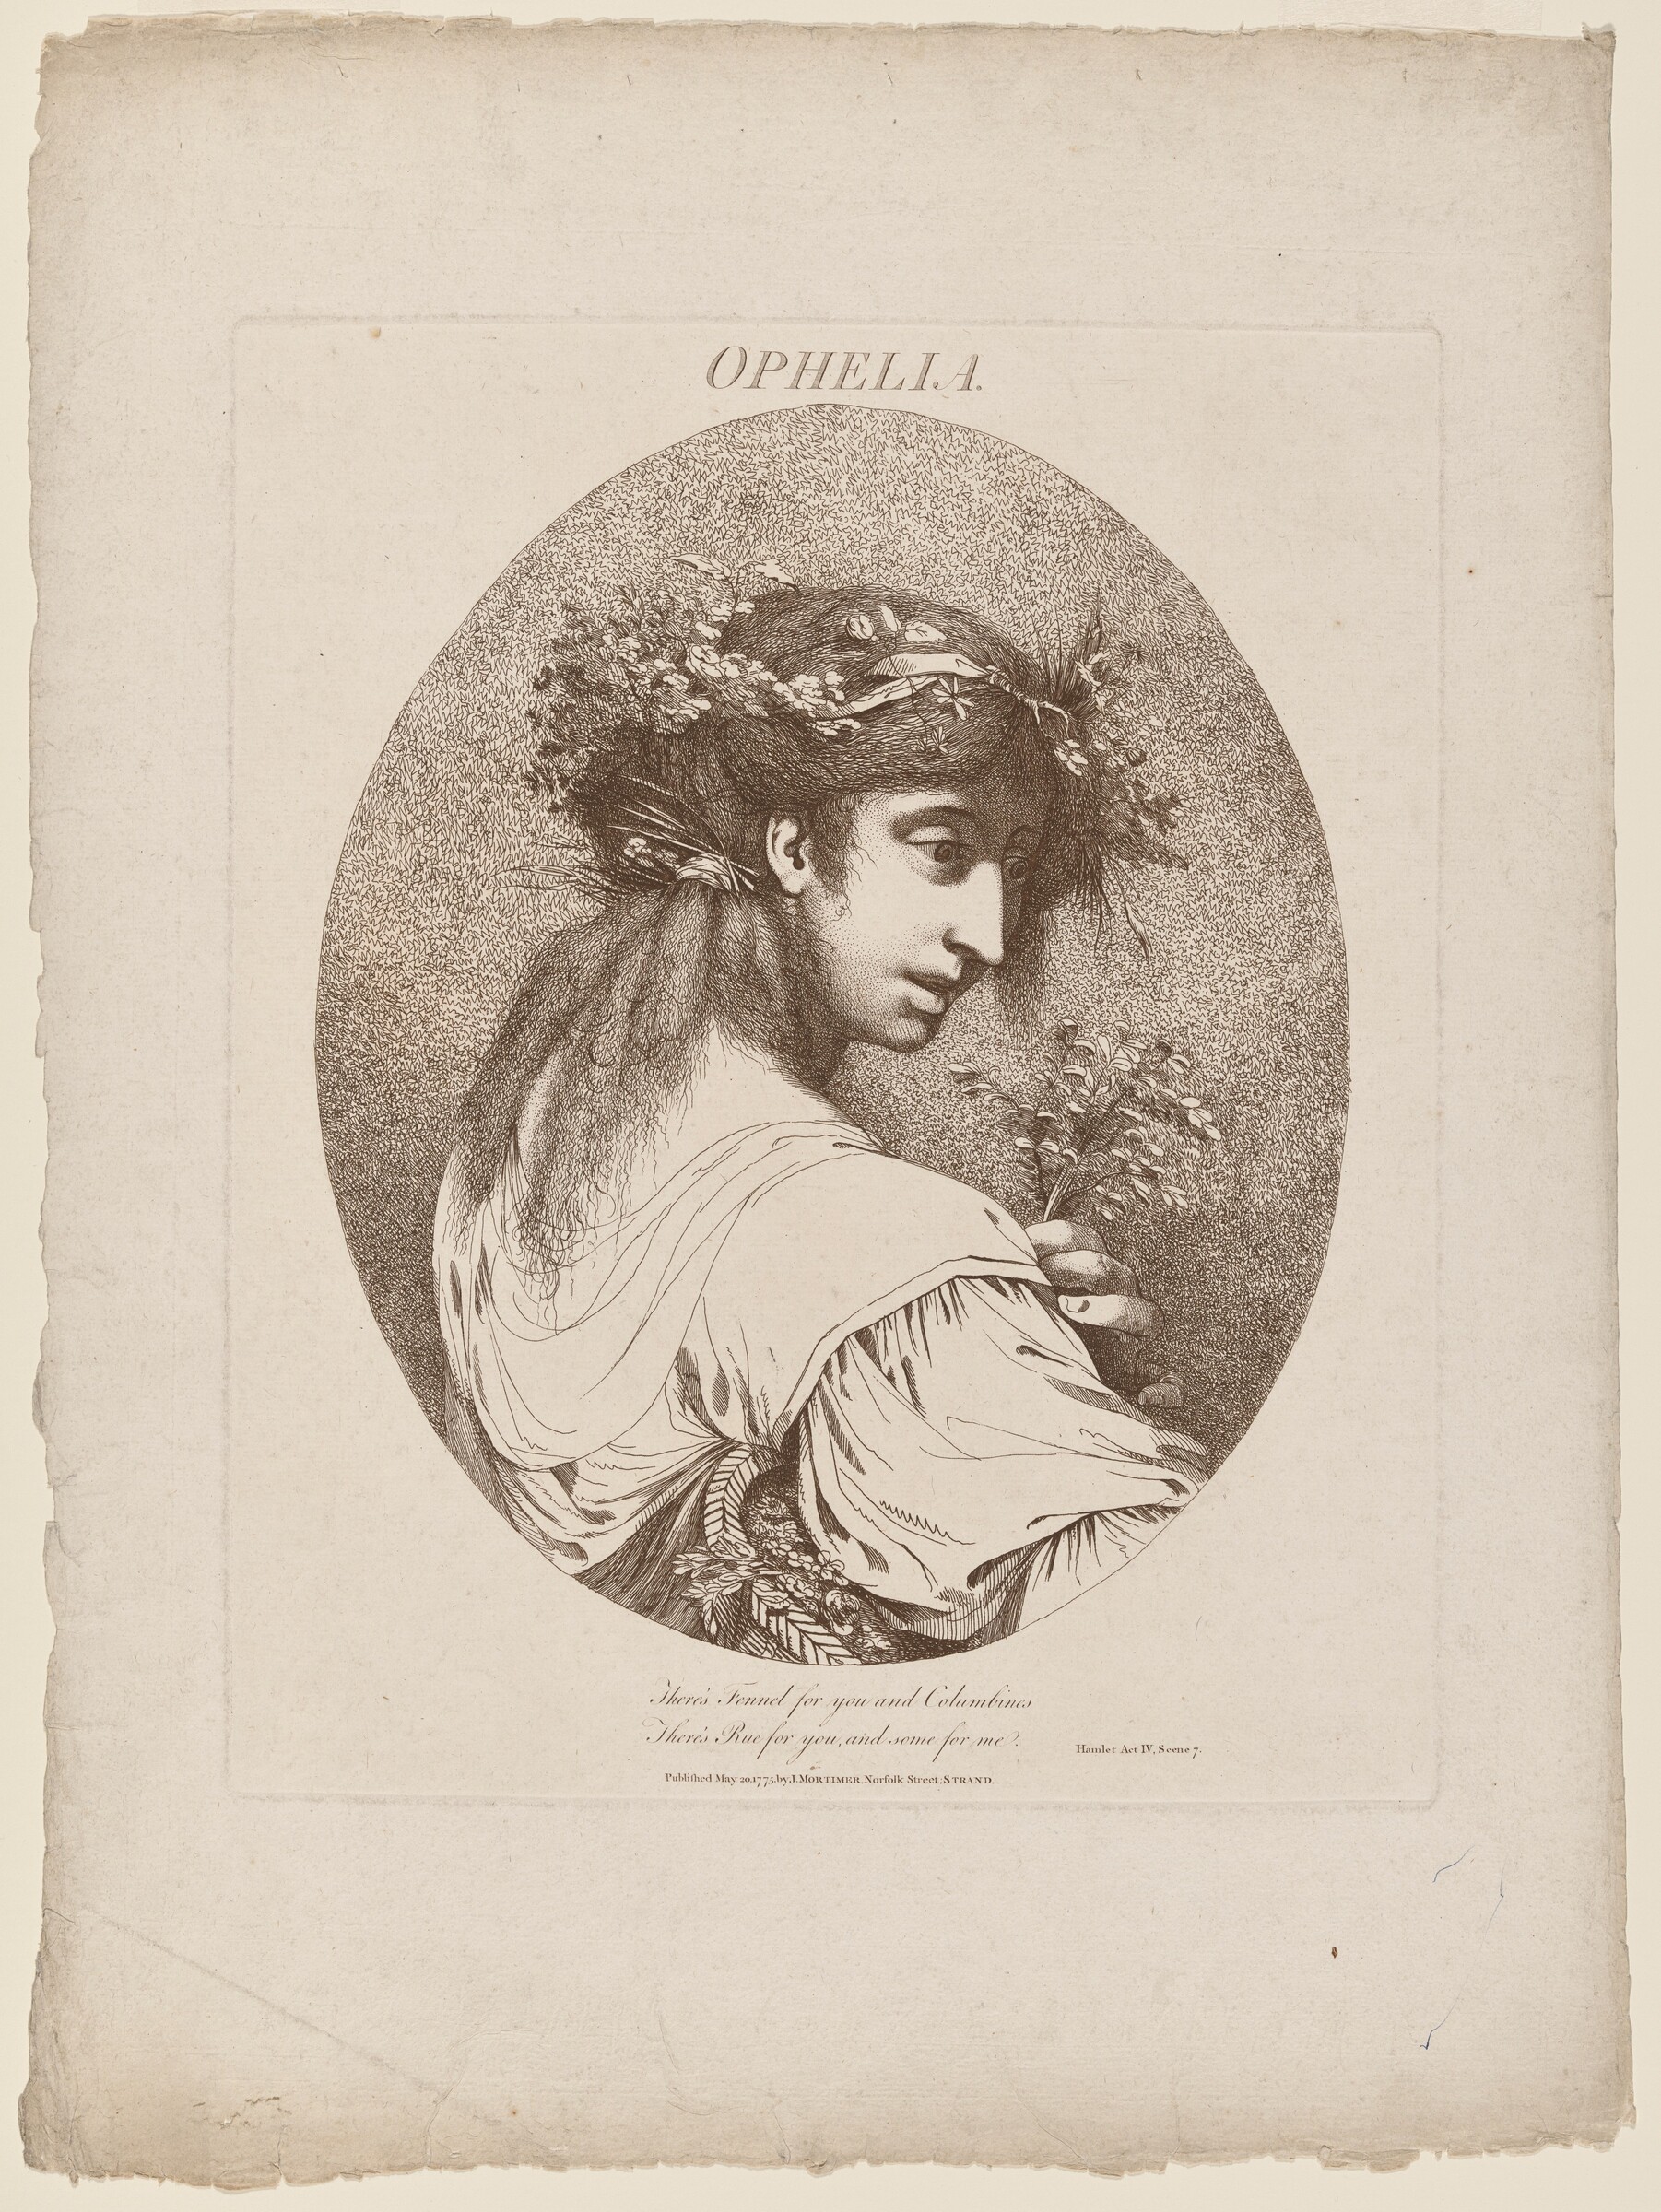
Ophelia
1775 · Nicht ausgestellt · National Gallery of Art

Richard II
1775 · Nicht ausgestellt · National Gallery of Art

Caliban
1775 · Nicht ausgestellt · National Gallery of Art
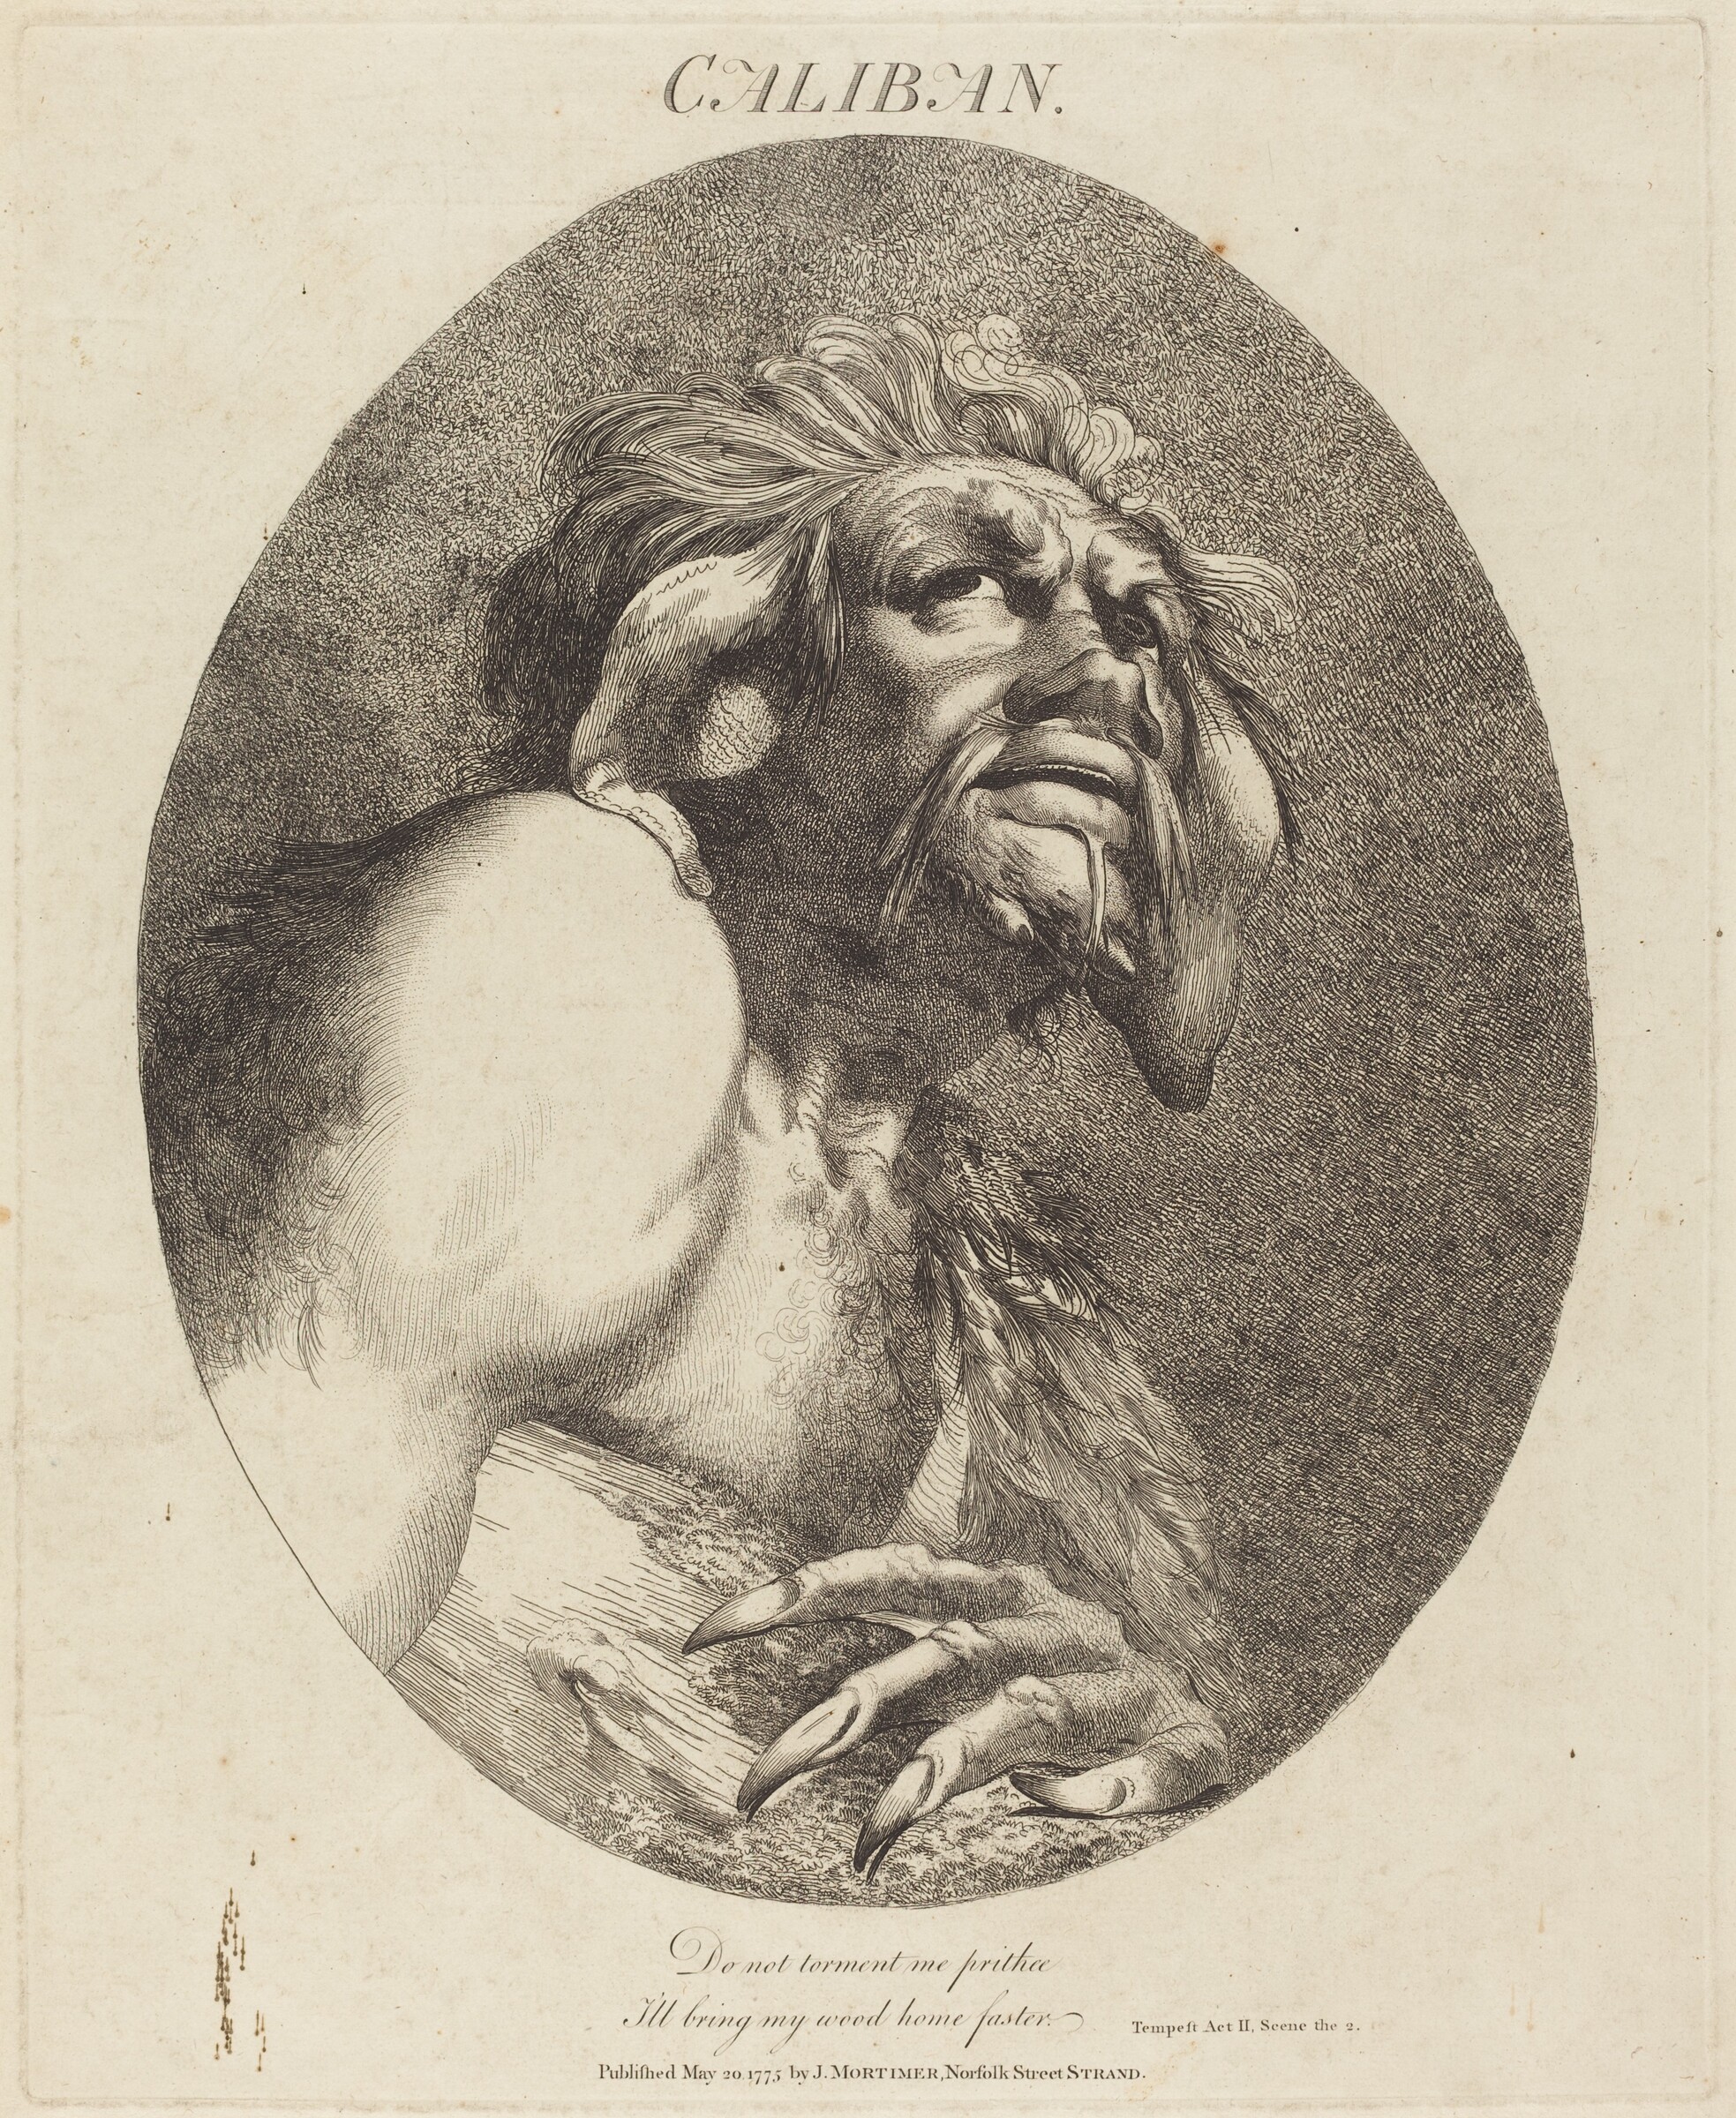
Caliban
1775 · Nicht ausgestellt · National Gallery of Art

III. The Hero Rescues the Prisoners
1775 · Tate Gallery

IV. The Hero’s Father Blesses his Marriage
1775 · Tate Gallery

II. The Hero’s Father Blesses his Departure
1775 · Tate Gallery

I. The Hero Decides to Seek his Fortune
1775 · Tate Gallery

York, "Henry IV", Part II, Act V, Scene IV
1775 · Yale Center for British Art

Death on a Pale Horse
ca. 1775 · Yale Center for British Art

Richard II, from Richard II, Act III, Scene 2
1775 · Yale Center for British Art

Percival Bentley
ca .1775 · Nicht ausgestellt · Yale Center for British Art

"Richard II", Act III, Scene II
1775 · Yale Center for British Art

Bardolph, from Henry IV, Act II, Scene 9
1775 · Yale Center for British Art

Saint Paul Preaching to the Britons
between 1775 and 1778 · Yale Center for British Art

Bardolph, "Henry IV", Part II, Act II, Scene IX
1775 · Yale Center for British Art

Elizabeth Bentley (née Pearkes)
ca. 1775 · Nicht ausgestellt · Yale Center for British Art

Edgar, "King Lear", Act III, Scene III
1775 · Yale Center for British Art

Caliban, from The Tempest
1775 · Yale Center for British Art

Ophelia, from Hamlet, Act IV, Scene 7
1775 · Yale Center for British Art

The Poet, "A Midsummer Night's Dream", Act V, Scene I
1775 · Yale Center for British Art

'Poet, from A Midsummer Night's Dream, Act V, Scene i'
1775 · Yale Center for British Art

Bardolph
1775 · Detroit Institute of Arts

Caliban, from "Twelve Characters from Shakespeare"
1775 · Nicht ausgestellt · Metropolitan Museum of Art

Ophelia, from "Twelve Characters from Shakespeare"
1775 · Nicht ausgestellt · Metropolitan Museum of Art

Edgar, from "Twelve Characters from Shakespeare"
1775 · Nicht ausgestellt · Metropolitan Museum of Art

Bardolph, from "Twelve Characters from Shakespeare"
1775 · Nicht ausgestellt · Metropolitan Museum of Art

Poet, from "Twelve Characters from Shakespeare"
1775 · Nicht ausgestellt · Metropolitan Museum of Art

Richard II, from "Twelve Characters from Shakespeare"
1775 · Nicht ausgestellt · Metropolitan Museum of Art

York
1776 · Nicht ausgestellt · National Gallery of Art

Shylock
1776 · Nicht ausgestellt · National Gallery of Art

Falstaff
1776 · Nicht ausgestellt · National Gallery of Art

Lear
1776 · Nicht ausgestellt · National Gallery of Art

Cassandra
1776 · Nicht ausgestellt · National Gallery of Art

Beatrice
1776 · Nicht ausgestellt · National Gallery of Art

York, from Henry IV, Part 2, Act V, Scene 4
1776 · Yale Center for British Art

Falstaff. Second part Henry IV, Act V, Scene 4
1776 · Yale Center for British Art

Iphigenia's Late Procession from Kingston to Bristol - By Chudleigh Meadows
1776 · Yale Center for British Art

Shylock, from The Merchant of Venice, Act IV, Scene 1
1776 · Yale Center for British Art

Beatrice, from Much Ado About Nothing, Act 1, Scene 2
1776 · Yale Center for British Art

Cassandra, from Troilus and Cressida, Act II, Scene 4
1776 · Yale Center for British Art

Choir and Orchestra (A Choral Band)
1776 · Yale Center for British Art

Cassandra, "Troilus and Cressida", Act II, Scene IV
1776 · Yale Center for British Art

Literary Characters Assembled Around the Medallion of Shakespeare
1776 · Yale Center for British Art

Lear, from King Lear, Act III, Scene ii
1776 · Yale Center for British Art

Cassandra, from "Twelve Characters from Shakespeare"
1776 · Nicht ausgestellt · Metropolitan Museum of Art

Duke of York, from "Twelve Characters from Shakespeare"
1776 · Nicht ausgestellt · Metropolitan Museum of Art